Tag Archives: Outrigger Sailing Canoes

Paddles and Kayak Cart

A very versatile kayak cart

I have built a few paddles and a very versatile kayak cart over the past couple of years. I have a folding kayak that is great for traveling, but it weighs close to 50 pounds. With my other kayaking gear and luggage I have about 100 pounds to carry. I wanted something that could be used as a luggage cart and a kayak cart, and was lightweight and compact. I searched for quite a while without finding  anything, so I decided to build my own.

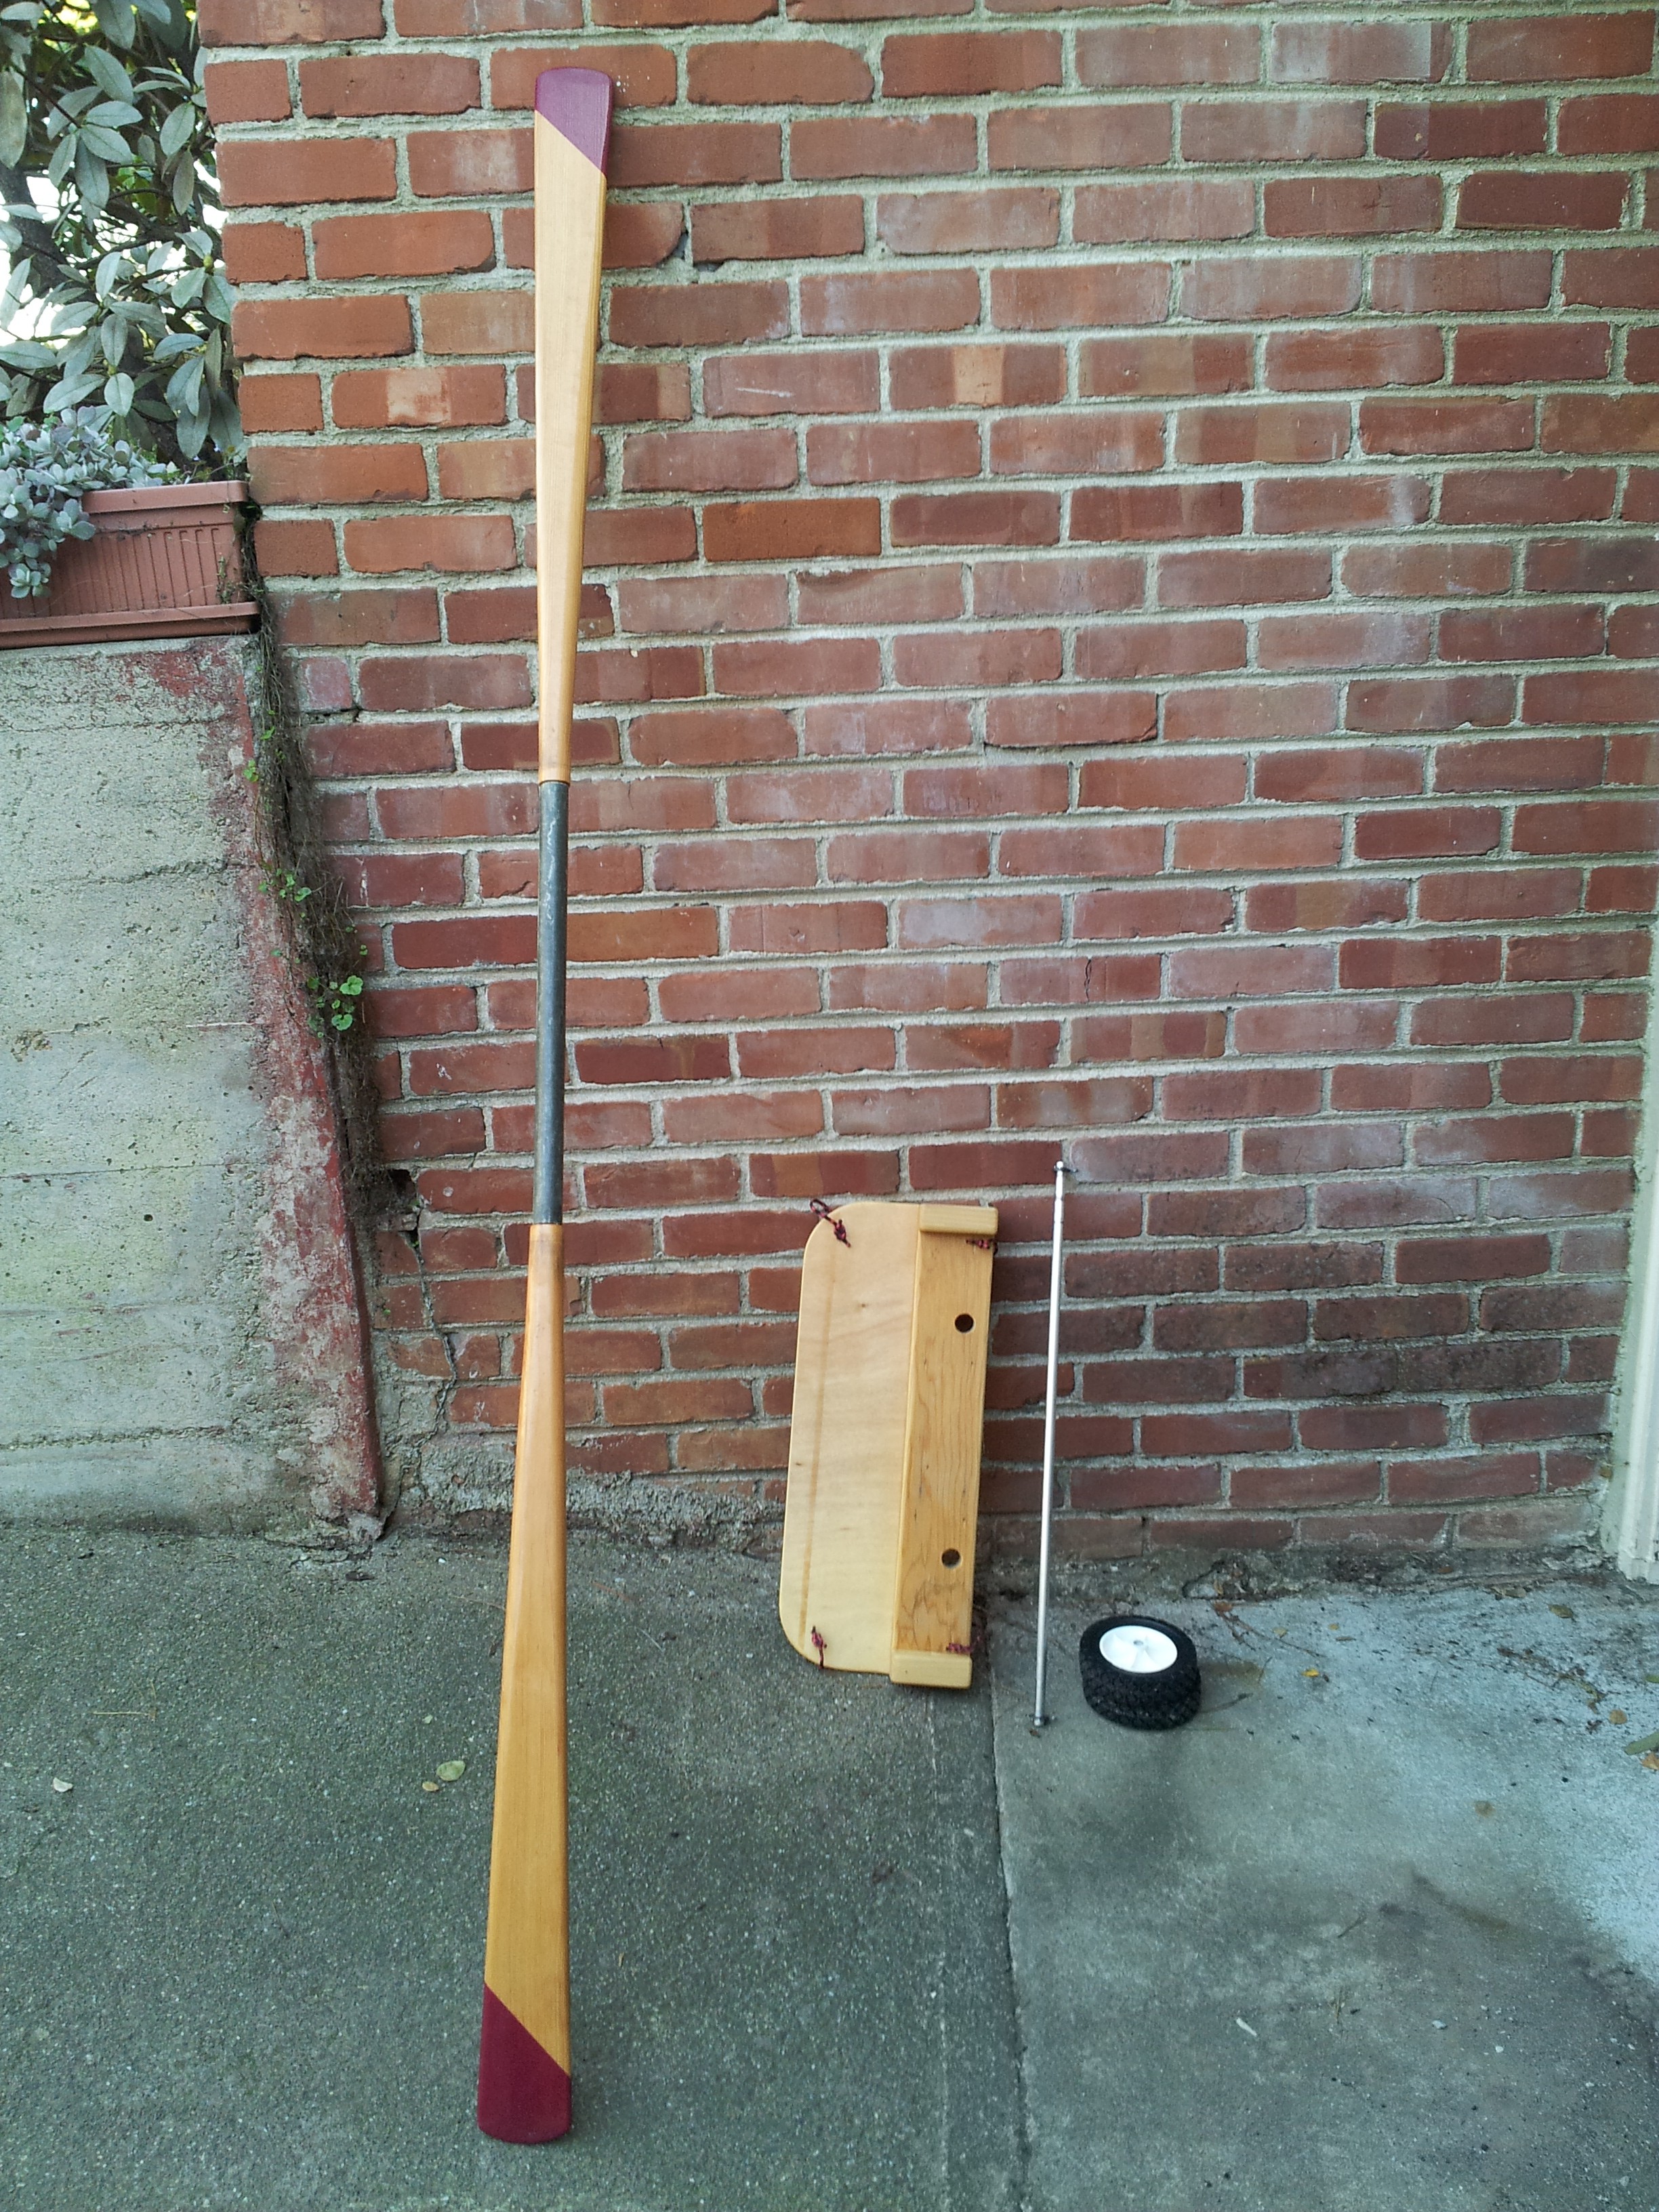
What I came up with is the cart shown above. It is a piece of plywood with wooden pillow blocks on the bottom for a 1/2″ aluminum axle. The axle accepts either the 6″ wheels shown, or larger 12″ wheels.  There are two 1″ holes at the back of the cart that the blades from my three piece Greenland paddle fit into when I use the cart for luggage.

Front view of cart
Front view of cart
Bottom view of cart
Bottom view of cart
The cart and paddle broken down

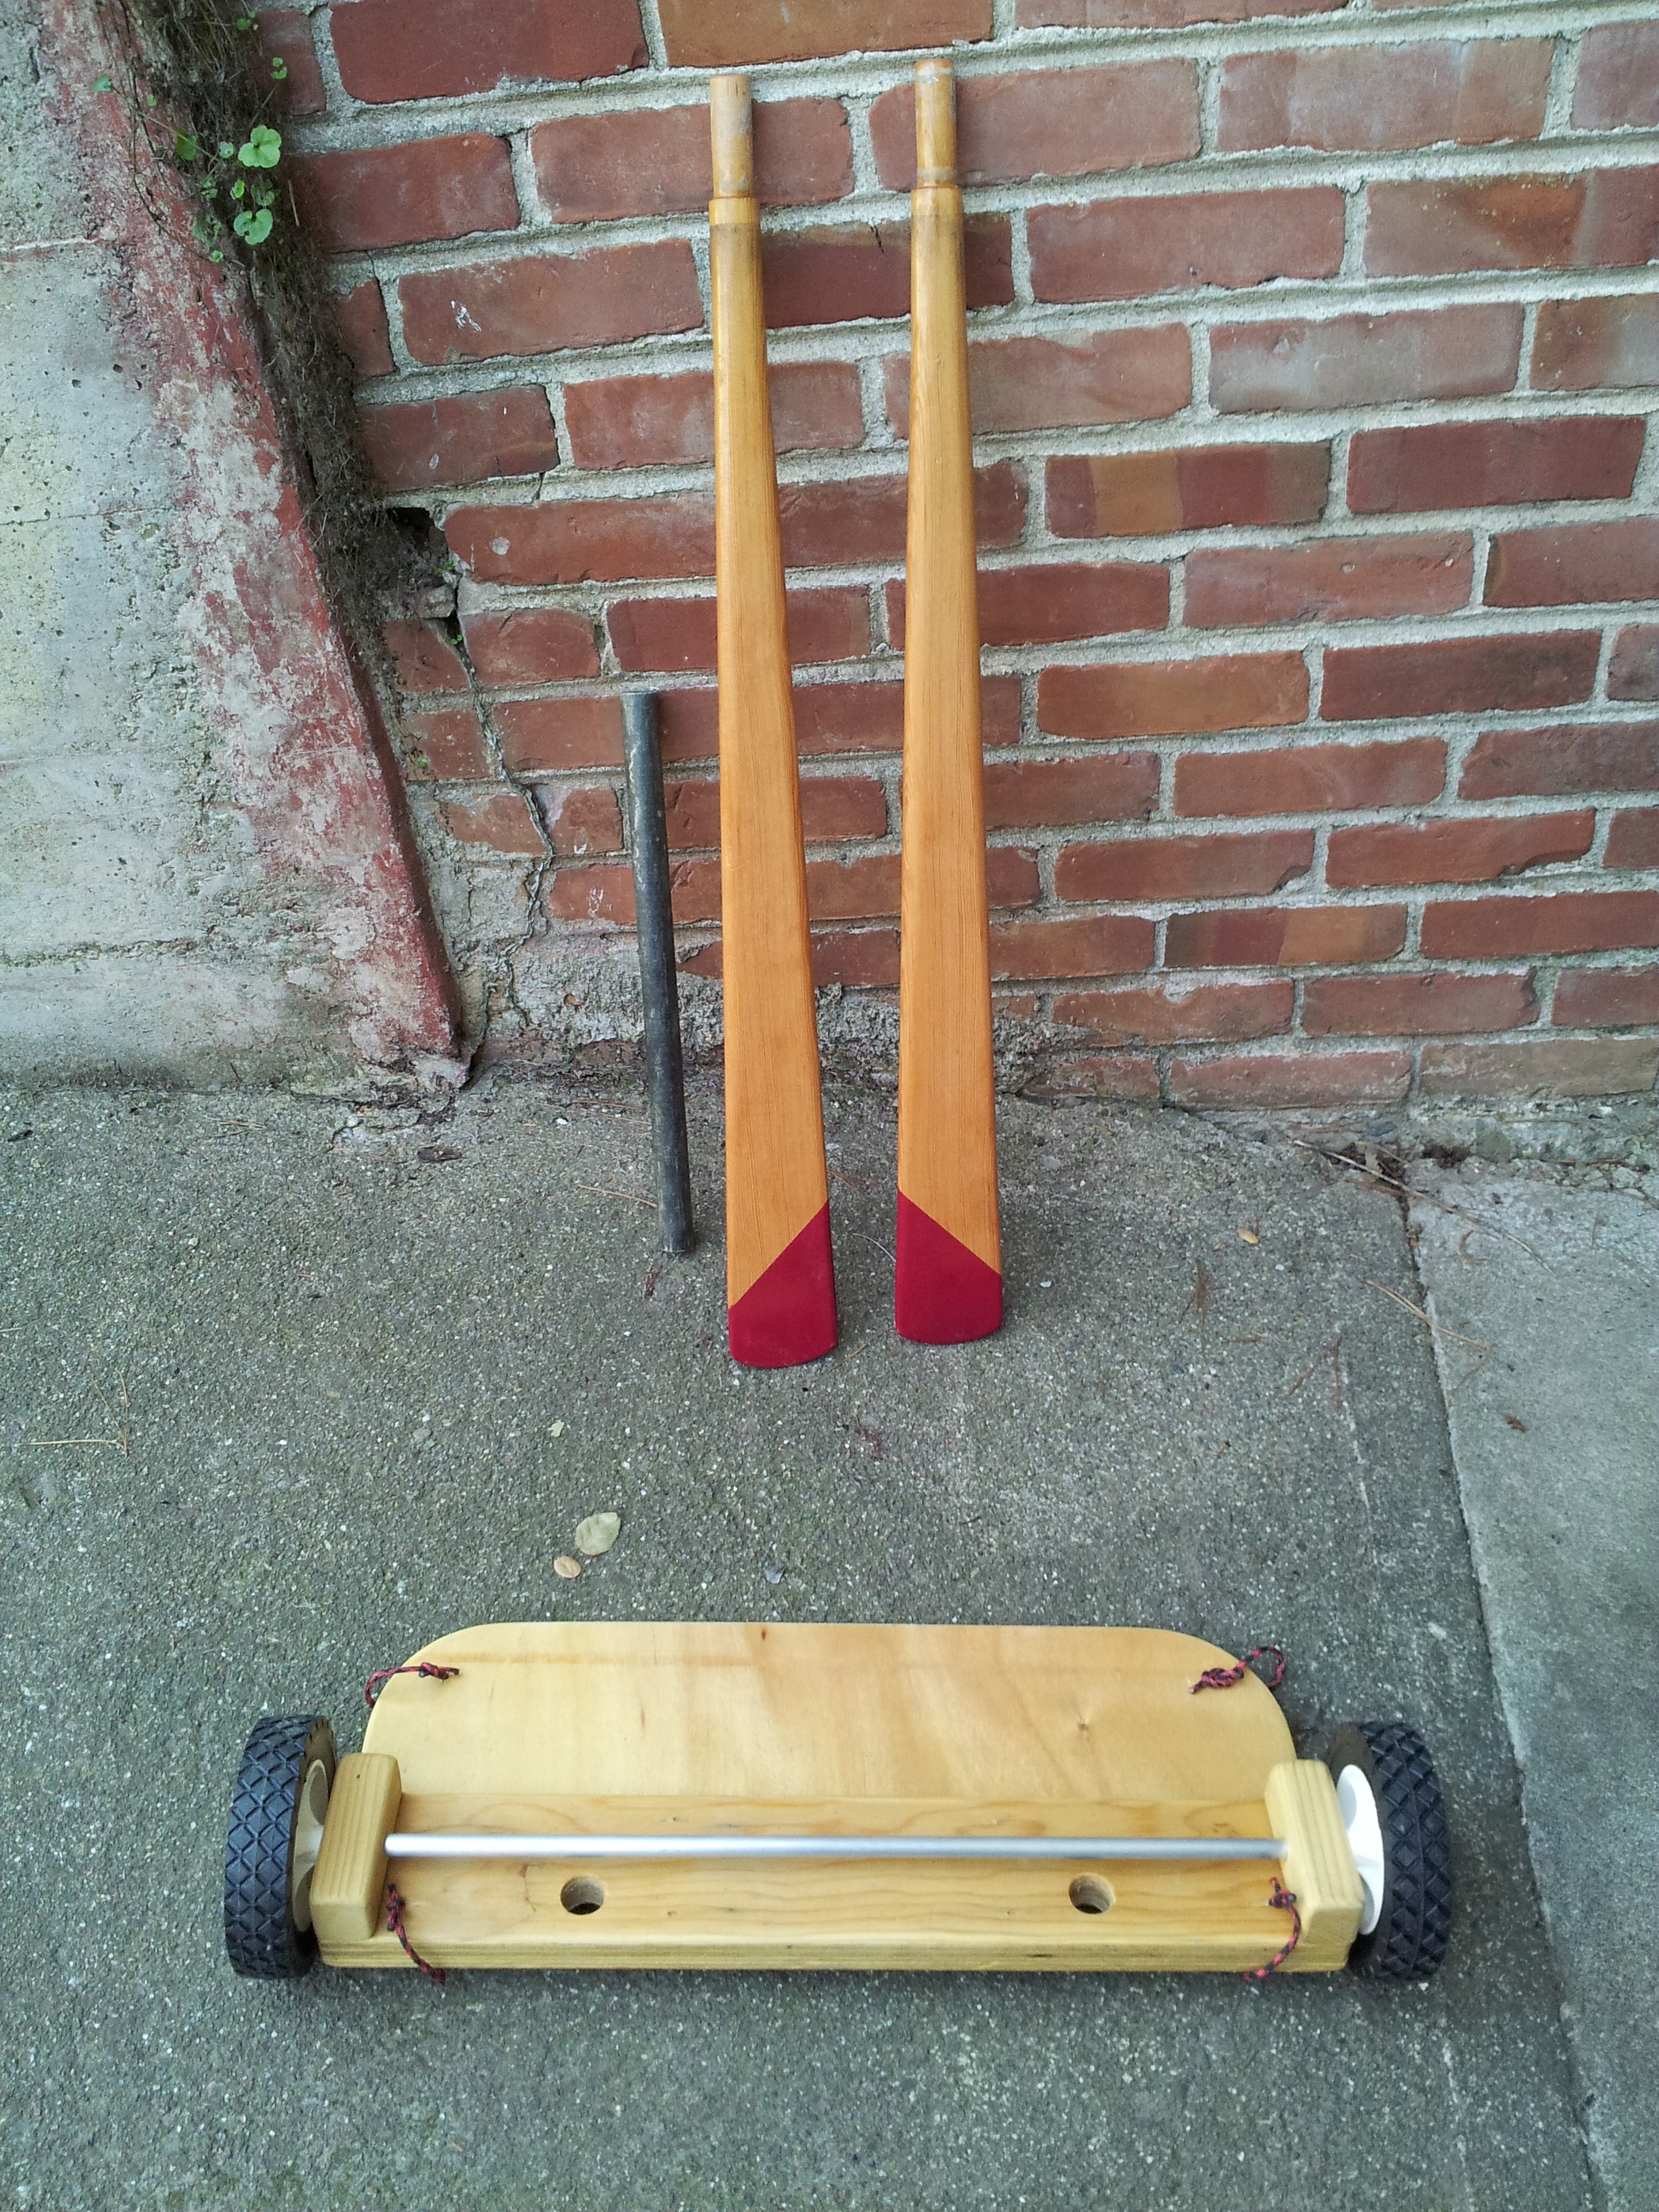
The loops of line on the four corners of the cart are used to strap baggage or the kayak to the cart,  and to attach the cart to the deck of the kayak.

The cart on the deck of my kayak

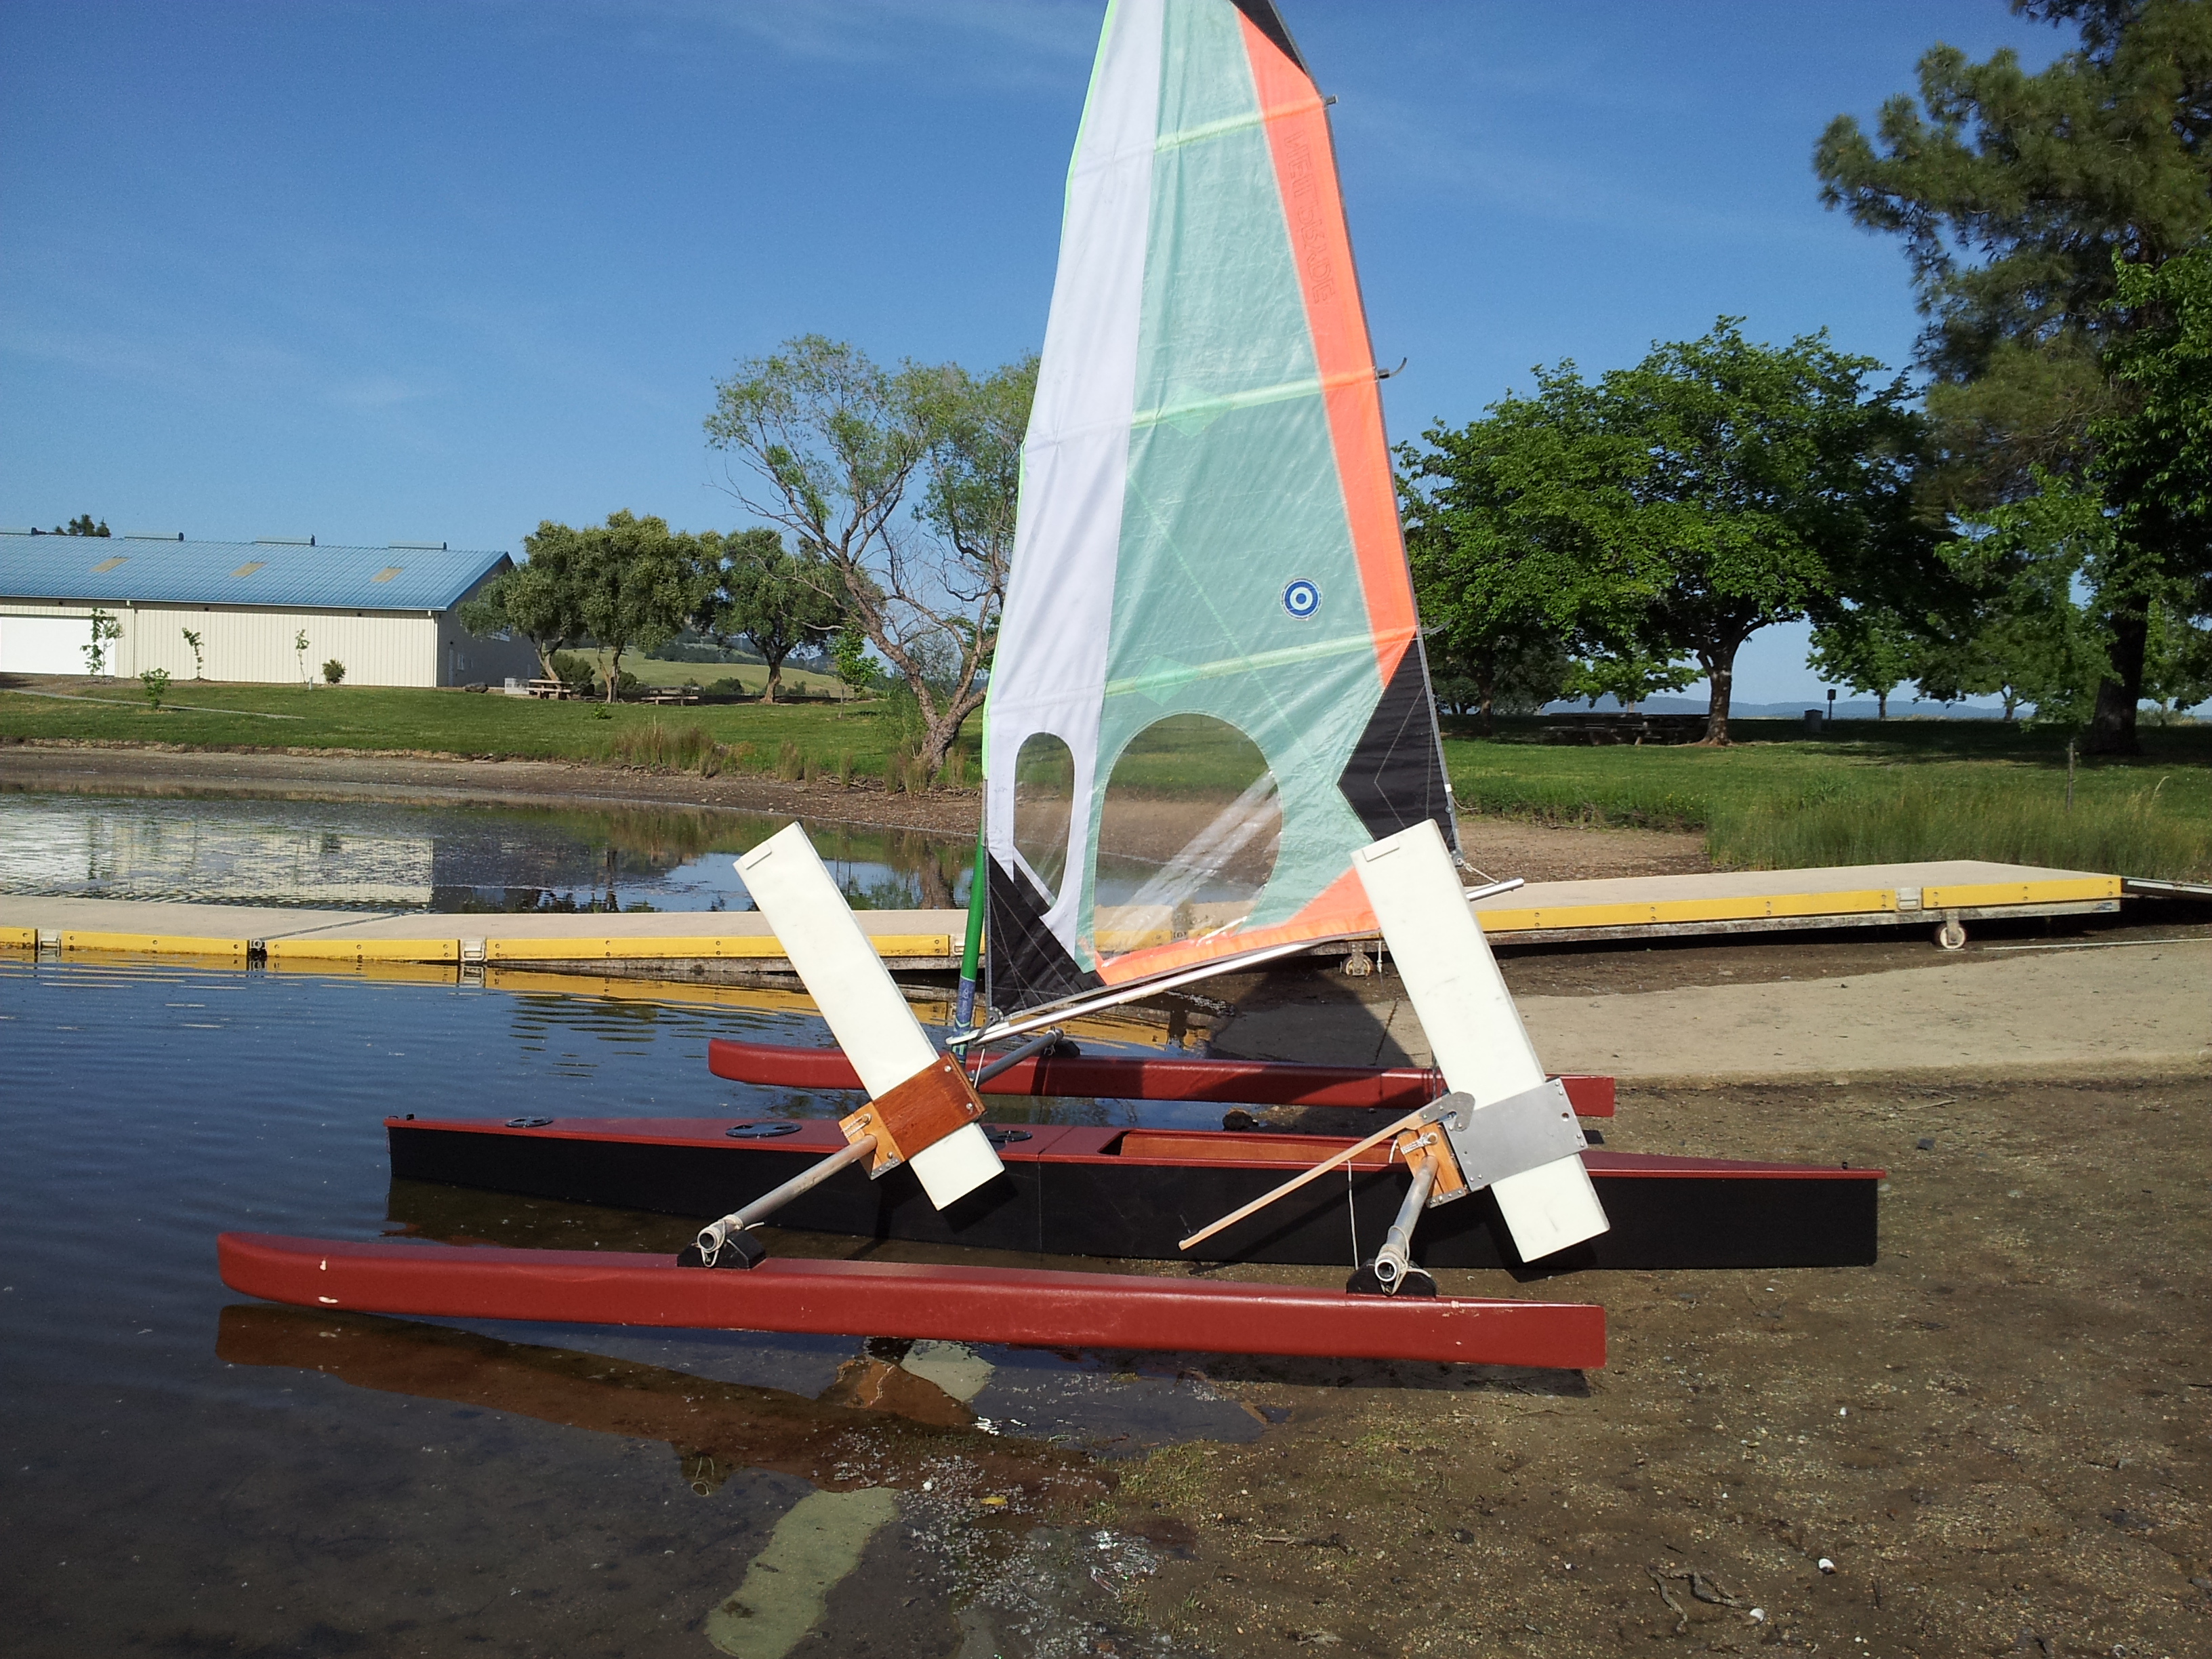
I have also added a fitting to the bottom of the cart for the mast of my kayak sail. This way the cart can be used as a mast base when it is on the deck of the kayak. I may also add attachments so my spare paddle can be used as a crossbeam for small outriggers.

I used the cart on a recent trip on the Mississippi River and it really came in handy. The Greenland paddle I made as part of the cart has ended up being one of my favorite paddles.

Greenland paddle
Greenland paddle

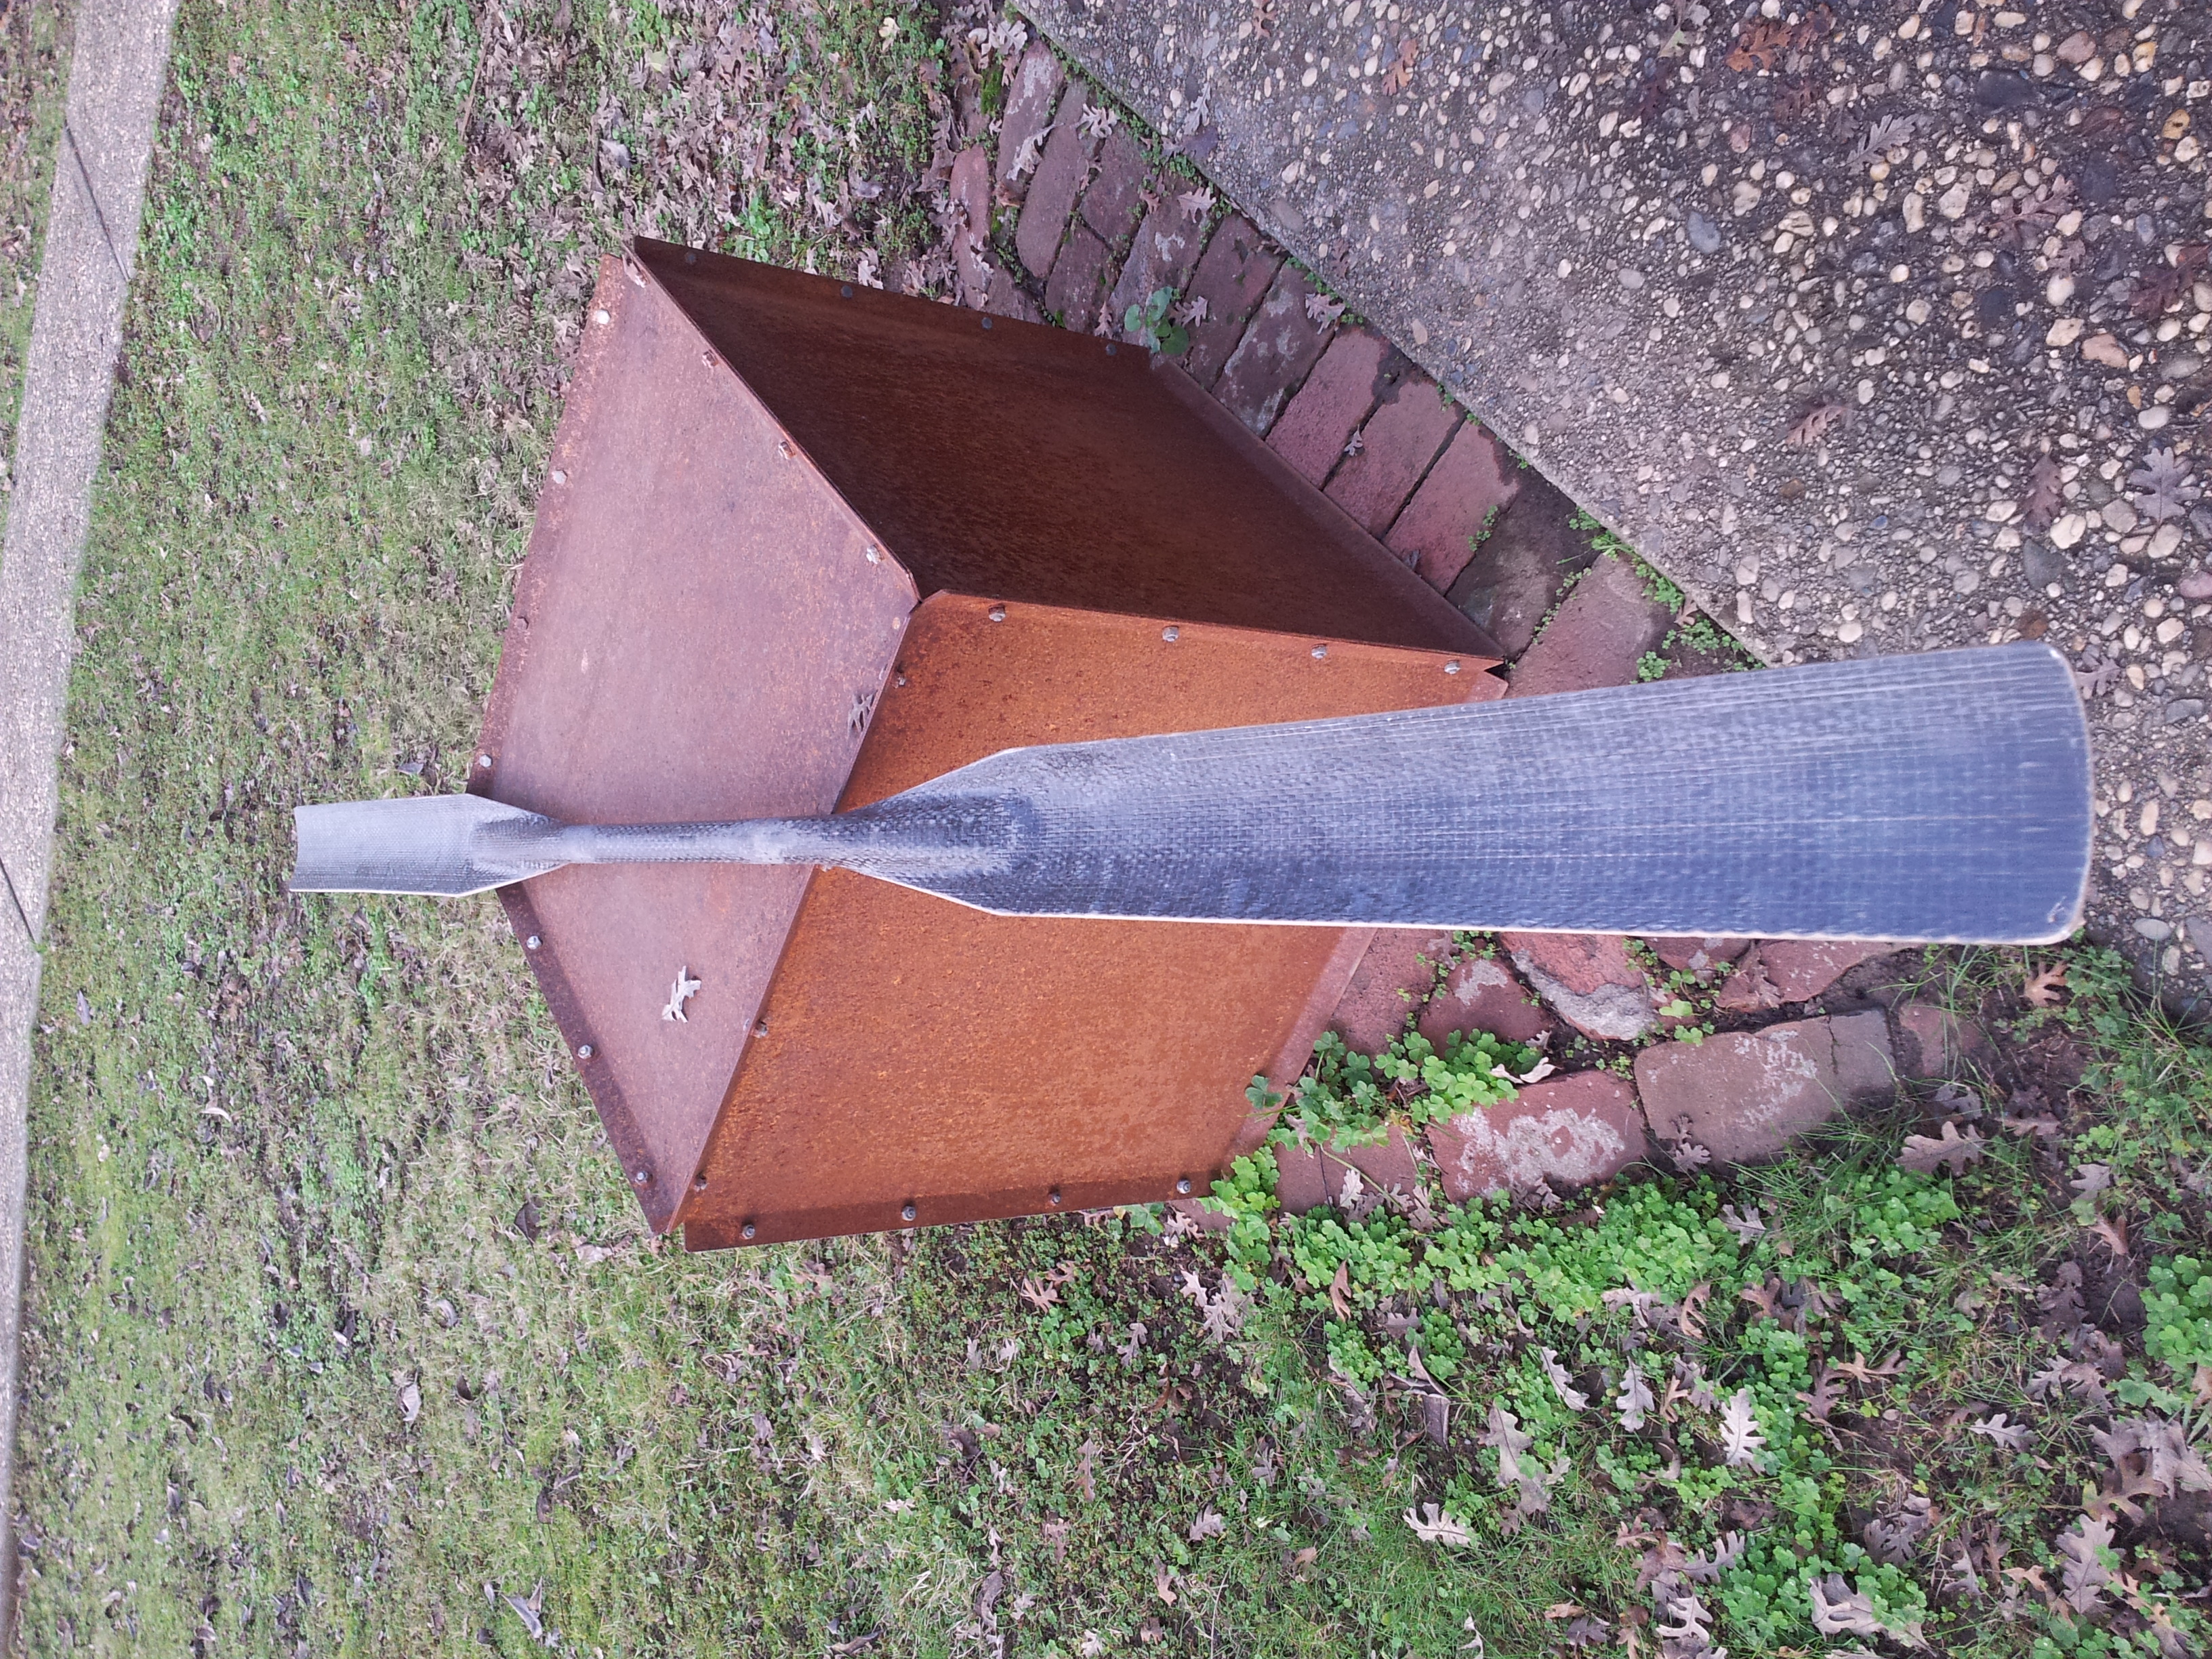
The blades are made from straight grained fir and encapsulated in epoxy. The shaft was made by wrapping two layers of unidirectional carbon fiber, one layer of biaxial carbon fiber, and one layer of fiberglass around a 1″ aluminum tube that had four wraps of wax paper around it. The cloth was soaked in epoxy, and everything was tightly wrapped in peelply. After it cured I slid the shaft off of the aluminum tube, cut it to length, and clear coated it. It weighs about 30 ounces.

Previously I had built an experimental paddle out of carbon fiber and balsa that has been partially successful.

Back view of the arc paddle
Front view of arc paddle

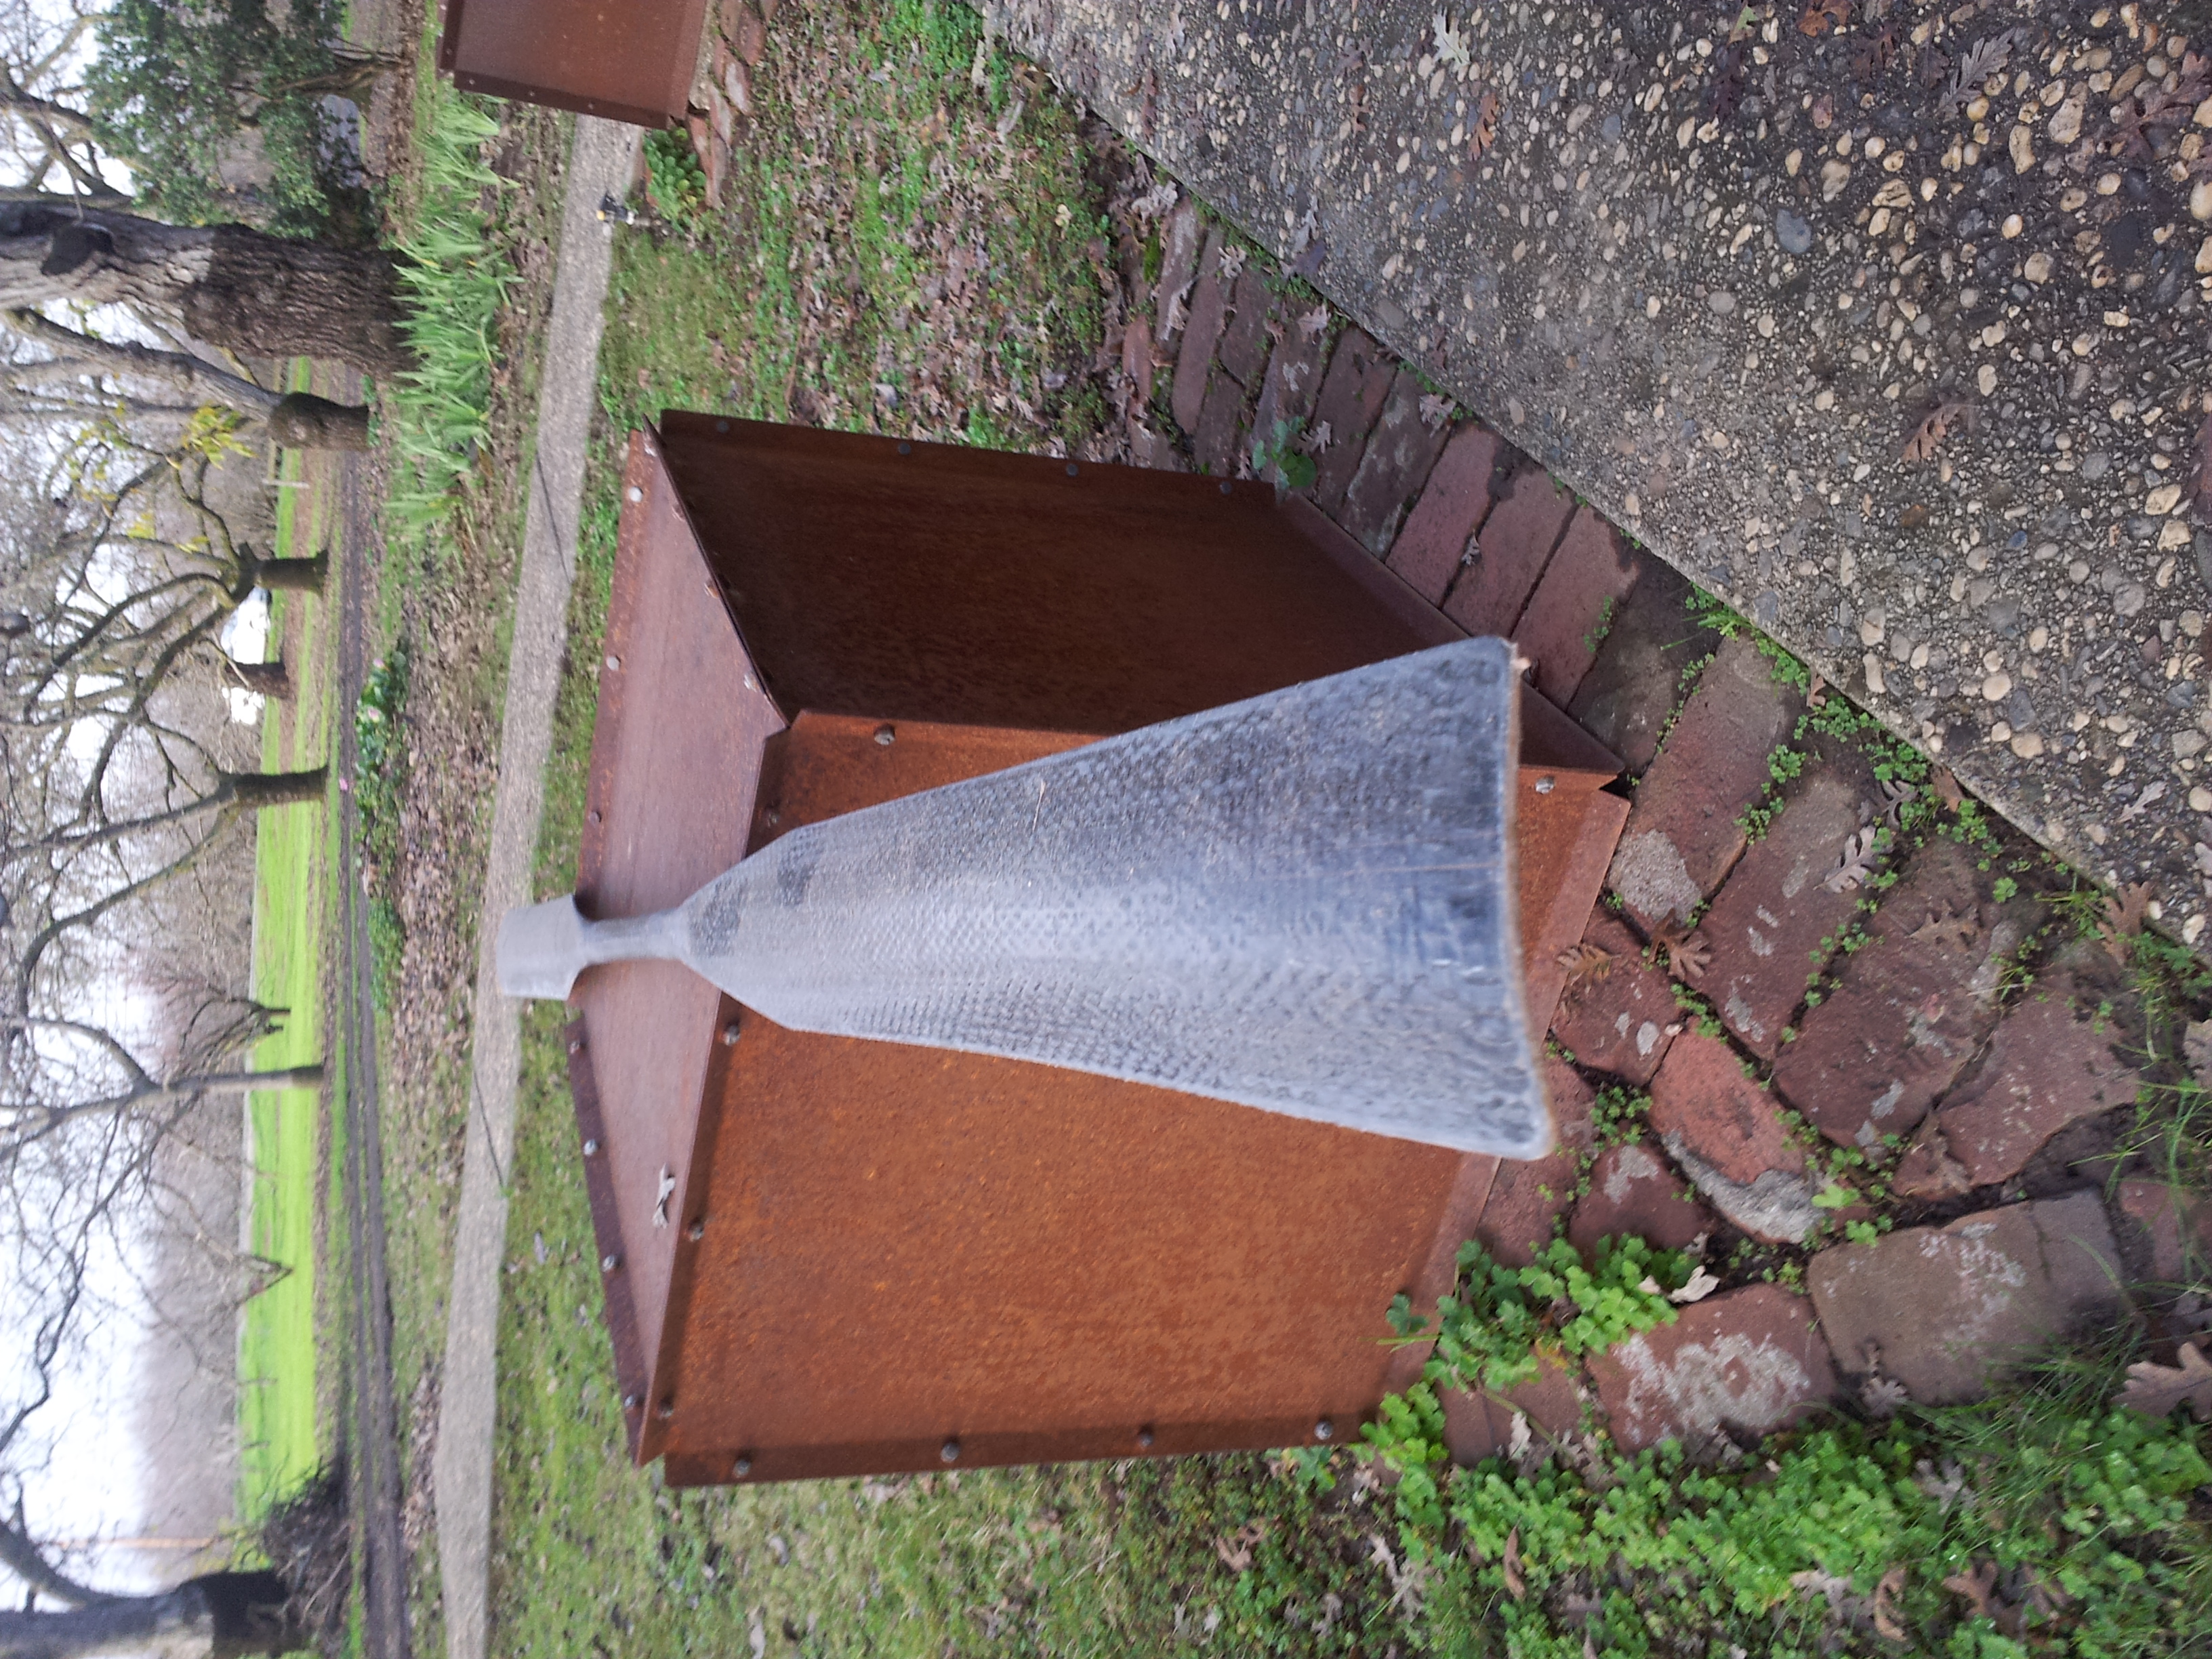
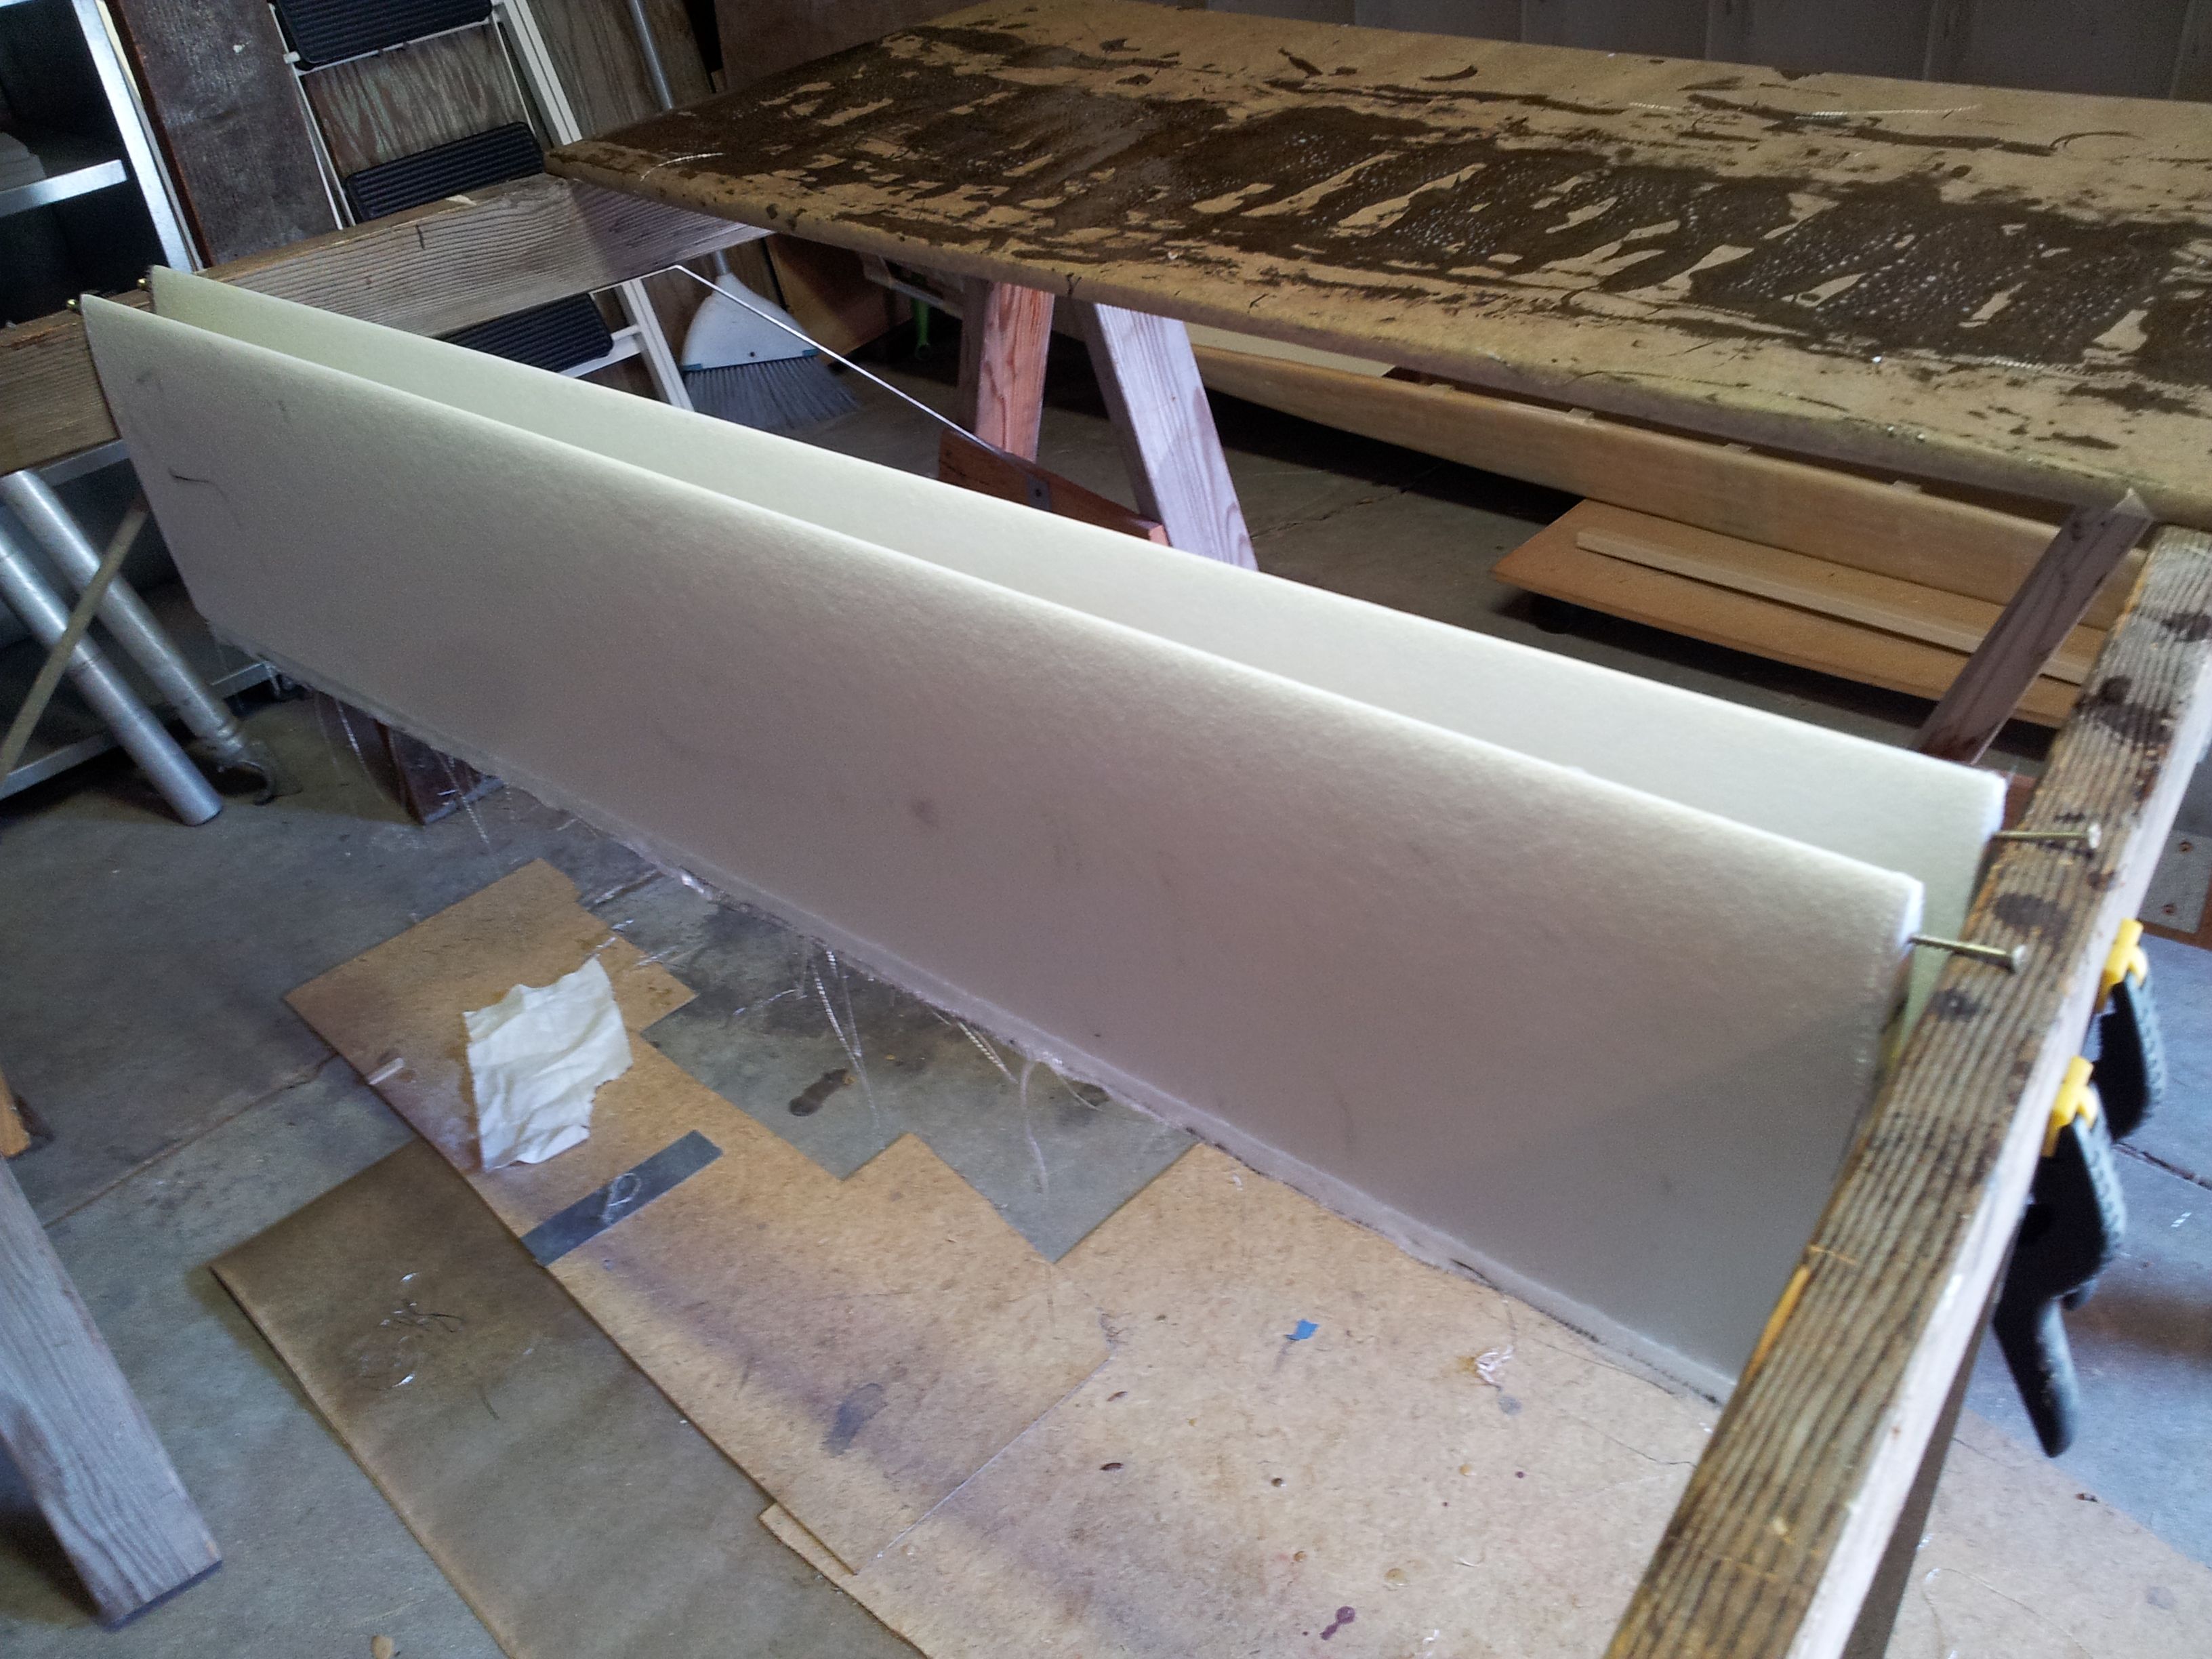
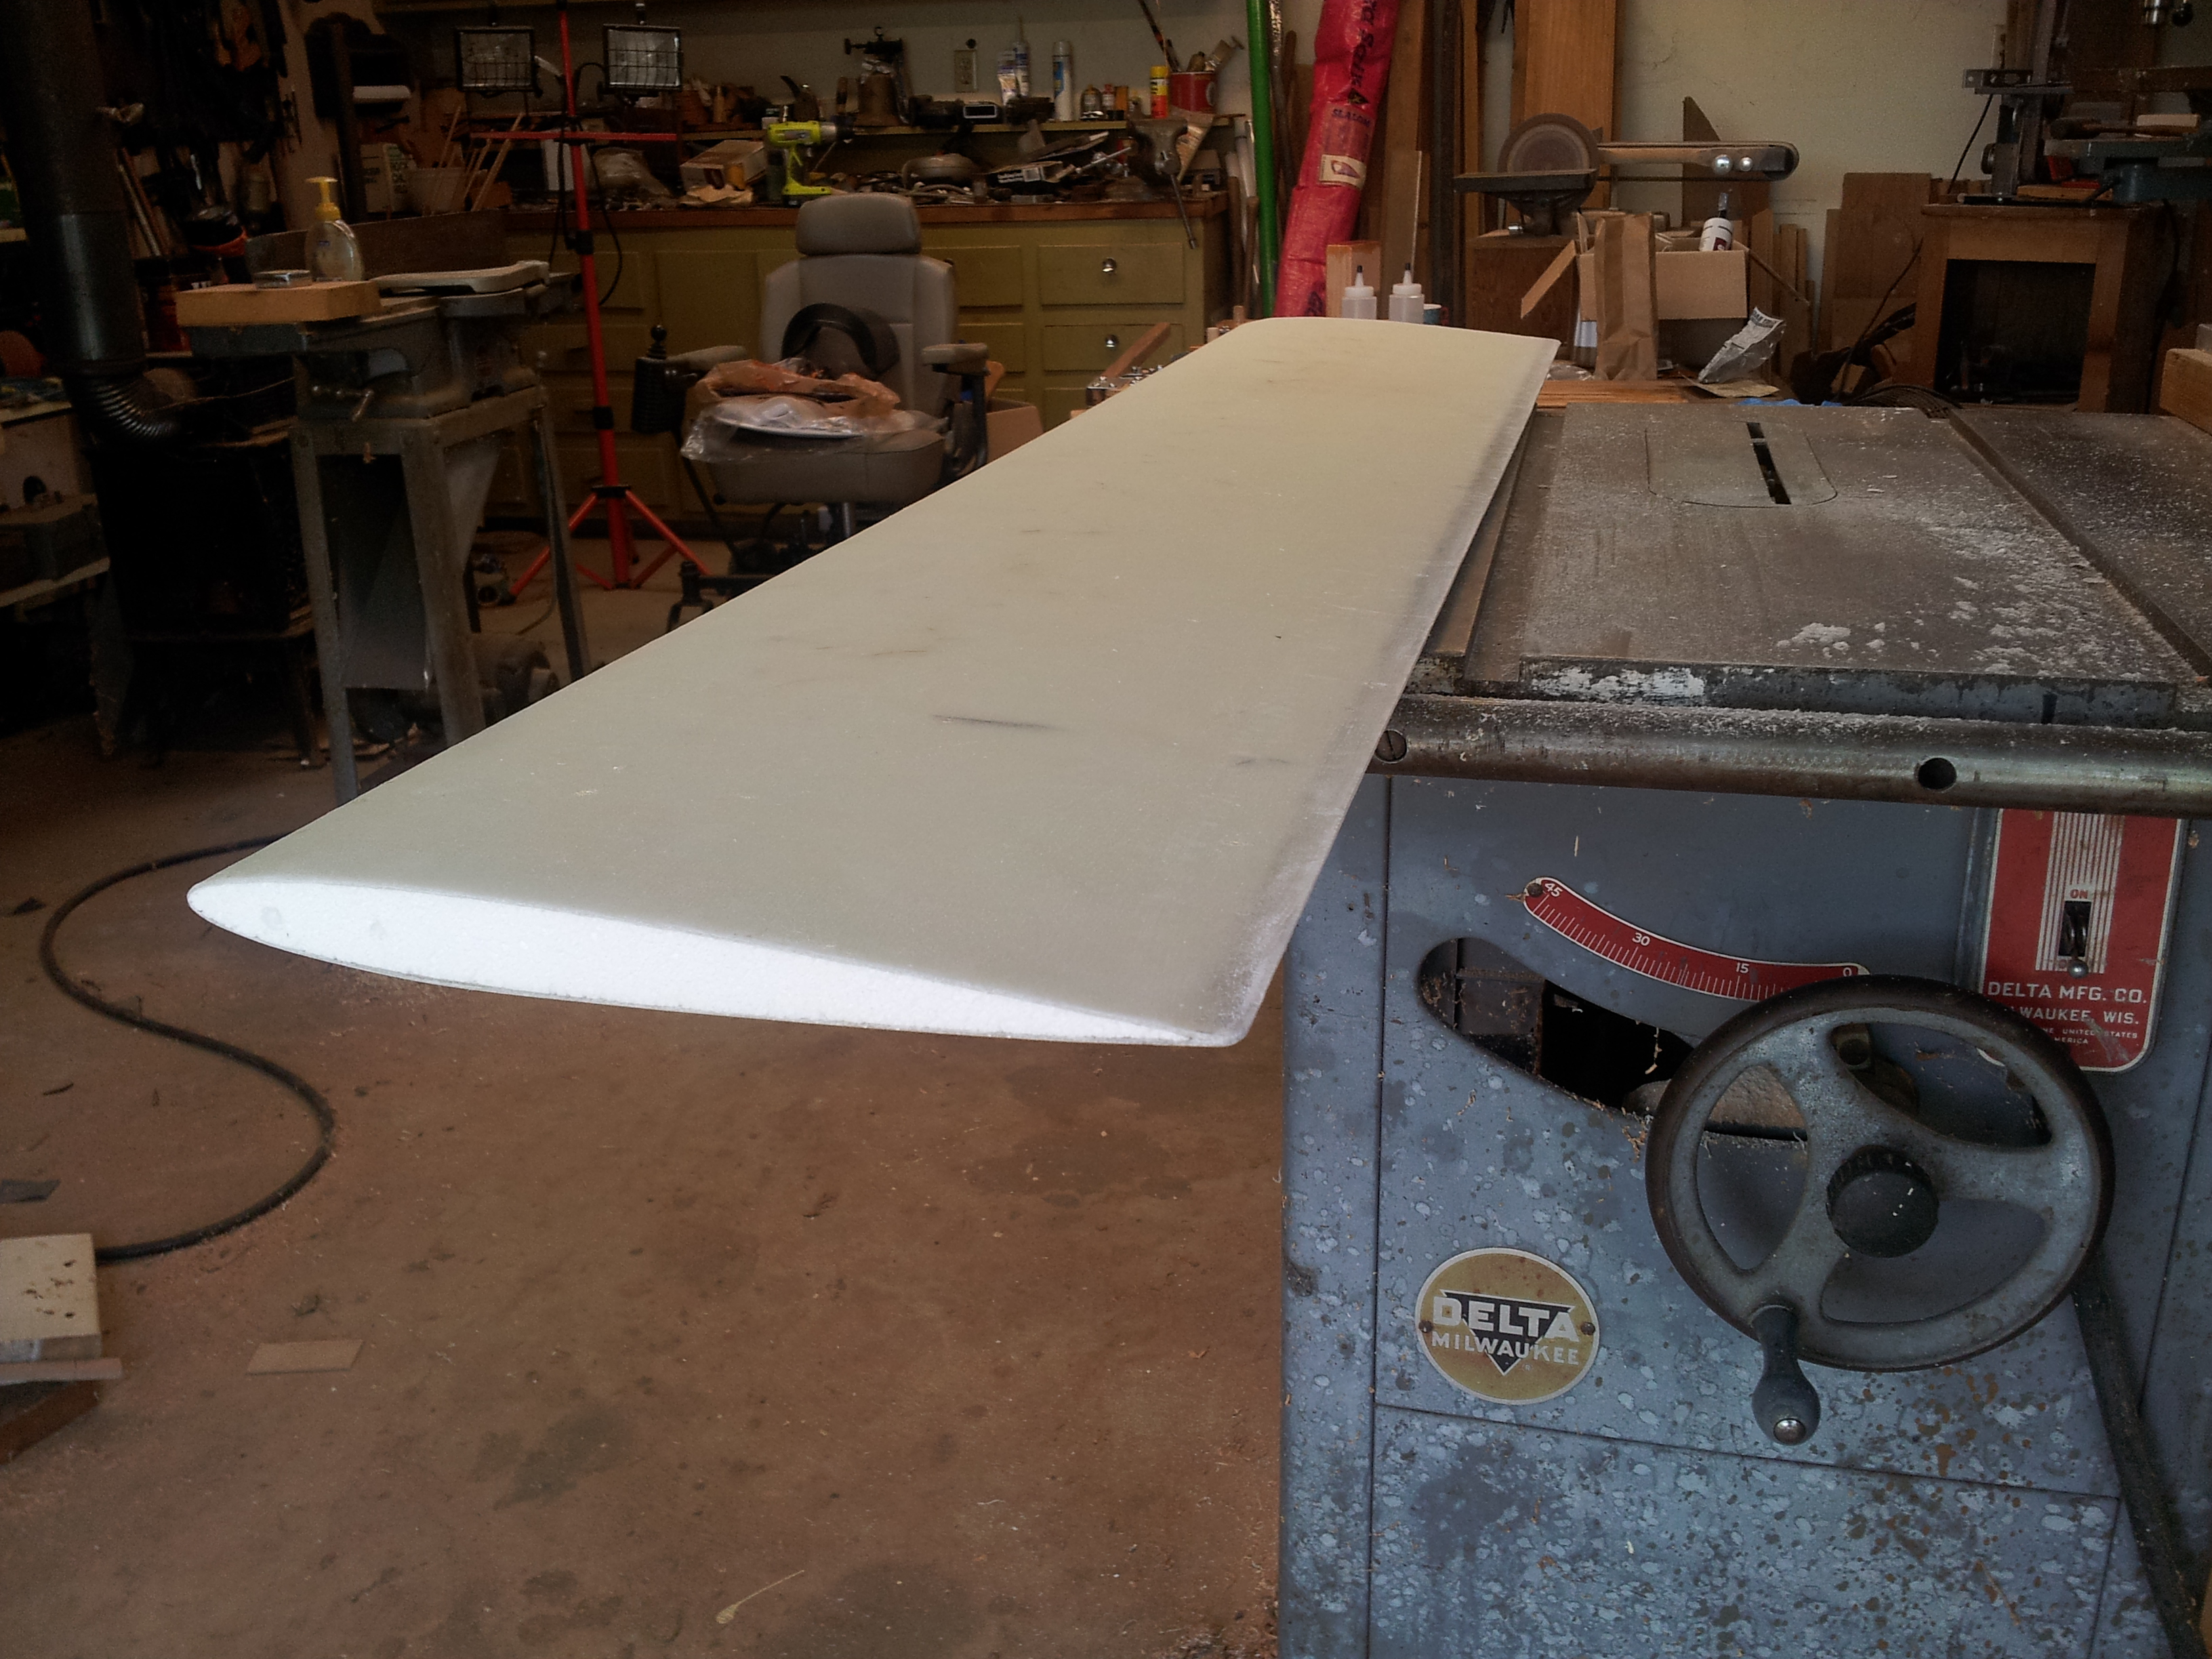
The blades of the paddle are very thin but were formed over an 8″ diameter tube to to give them strength. The paddle has a balsa core with unidirectional and biaxial carbon fiber skin. The paddle weighs 17 ounces and is quite strong – when paddling forward. When back paddling the blades twist and if enough force is applied they will break. On a very windy day while paddling from San Francisco to Oakland I broke a blade while trying to keep from broaching while surfing waves in a heavy sea canoe.  So the paddle is good for fast paddling on smooth water, but not acceptable for rough water.

The other paddle I built is for outrigger canoes.

Canoe paddle
Canoe paddle

I built it out of wood scraps. It is heavy and strong, and works well with outrigger canoes that are sailed and only occasionally paddled.


Outrigger Sailing Canoe 2

Outrigger Sailing Canoe Model B on the Beach

The conversion of the canoe I built into an outrigger sailing canoe got me hooked on outriggers, so I had to design and build a better one. The Model B has a 16′ long by 16″ wide main hull that breaks apart into two 8′ pieces for easier storage. The construction method of the main hull is the same as for the kayak in the previous post.

Cutting out the hull panels.

The hull is once again symmetrical front to back so there are two identical bottom panels and four identical side panels.

Tape and glue (and clamp) construction.

The panels are temporarily taped together with duct tape then glued together with thickened epoxy covered by a strip of fiberglass tape.

The hull glued together.

Next the inside of the hull is coated with epoxy and the floor of the cockpit is reinforced with a layer of fiberglass.

The exterior of the hull is fiberglassed.

The hull is flipped over and fiberglassed.

Deck in place and fiberglassed, with cutouts.

The deck is attached and fiberglassed, and the cockpit and hatches are cut out. The floats are made from foam encapsulated in fiberglass. I may have mentioned in earlier posts that I don’t like sanding. So I sent an AutoCAD file of the floats to a foam fabricator and for $40 they CNC wire cut the foam for both 6″ x 6″ x 12′ floats. I made a router fixture to cut the leeboard and rudder.

Fixture for routing the foils.

After an hour of cutting with my old underpowered router I decided to send an AutoCAD file of the foils to my foam guy. For $20 he CNC cut blanks for me.

Foil fabrication.
Foil fabrication.

The foam blanks are covered with four layers of fiberglass and peelply (no sanding).

Foil peeled and trimmed.

I peel the peelply off the foils and trim the excess fiberglass from the trailing edges on the tablesaw and the foils are perfectly shaped. I am going to remove the foam from the center and pour epoxy with filler into the foils to add strength, but haven’t yet. The foils go into cassettes made from aluminum and nylon that clamp to the crossbeams. The depth of the foils can be adjusted by raising and lowering them in the cassettes, and the cassettes rotate on the crossbeams so they kick-up if they hit something.

Folding crossbeams.
Folding crossbeams.

Since I sail in the San Francisco Bay and there aren’t many beaches, the crossbeams fold on the starboard side to make it easier to access docks.

Ready to sail.
Ready to sail.

It takes about an hour to assemble the boat. The two halves of the hull are bolted together, The crossbeams are lashed to the main hull, and the floats are lashed to the crossbeams. The foils are attached, the sail is rigged, and the boat is ready to sail.

This boat is pretty fast when the wind picks up, and pretty wet – the leeboard kicks up a rooster tail. Tacking is better than in Model A, but I still have to paddle through sometimes. A better sail and moving the rudder to the stern should improve things. The biggest problem is the hull is narrow so there isn’t much room. I built a hiking seat but I still end up standing on the sheet or sitting on the tiller.

Model C will be longer.

Outrigger Sailing Canoe 1

The Huck Finn Canoe Is Now An Outrigger Sailing Canoe

Not long after my last post over three years ago, a family member had some serious health issues. My priorities changed and I quit updating this blog. Now I have time continue with it (I hope). I have continued to work on some projects as time has allowed. I’ve continued using the canoe I built three years ago. It’s a good canoe – stable, tracks well, and easy to paddle. I paddled it from the aquatic center in Oakland across the Bay to AT&T Park in San Francisco and back two years ago. It performed well, although I had a wild ride on the way back with 25 kph winds and steep wind waves. I broke a paddle but made it – I was relieved to get back to the calm water in the estuary.

Not long after that I became interested in outrigger sailing canoes and decided to put outriggers and a sail on the canoe. I had some old 2″ aluminum tubing that I used for the crossbeams. I bought some 4″ PVC drain pipe at home depot and capped the ends with foam. I shaped a leeboard and a rudder out of some 1″ fir, got my old windsurfing mast and sail out of the basement,  lashed it all together, and went sailing.

It’s not the best sailboat I’ve ever been on, but it works. It takes about an hour to unload everything and get it assembled. It doesn’t sail very close to the wind – maybe 70 degrees. I usually have to paddle to complete a turn. But it is a fun little boat and it got me more excited about outrigger sailing canoes. Even though it has many design flaws it’s a quick little boat. Unfortunately I completely lost interest in the sailing canoe I started four years ago – it was too slow, so I gave it away. Once one has experienced an outrigger sailing canoe it is hard to go back to slow boats.