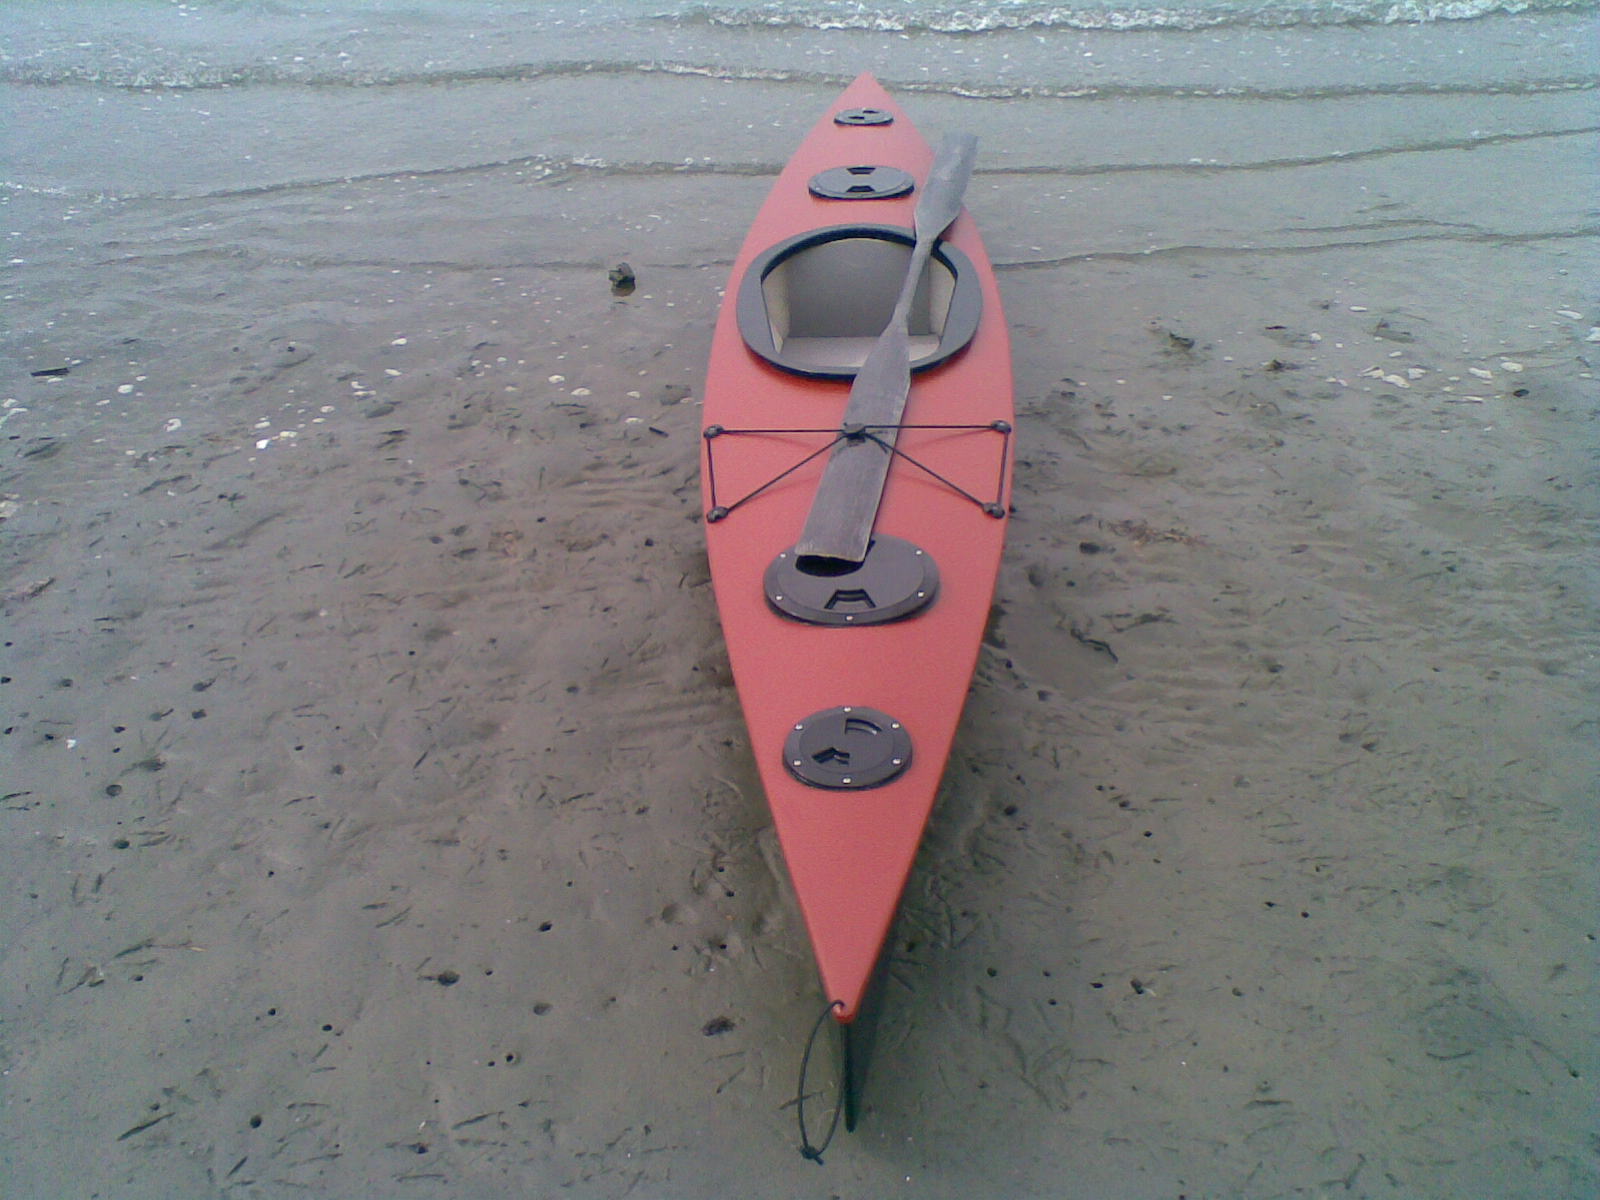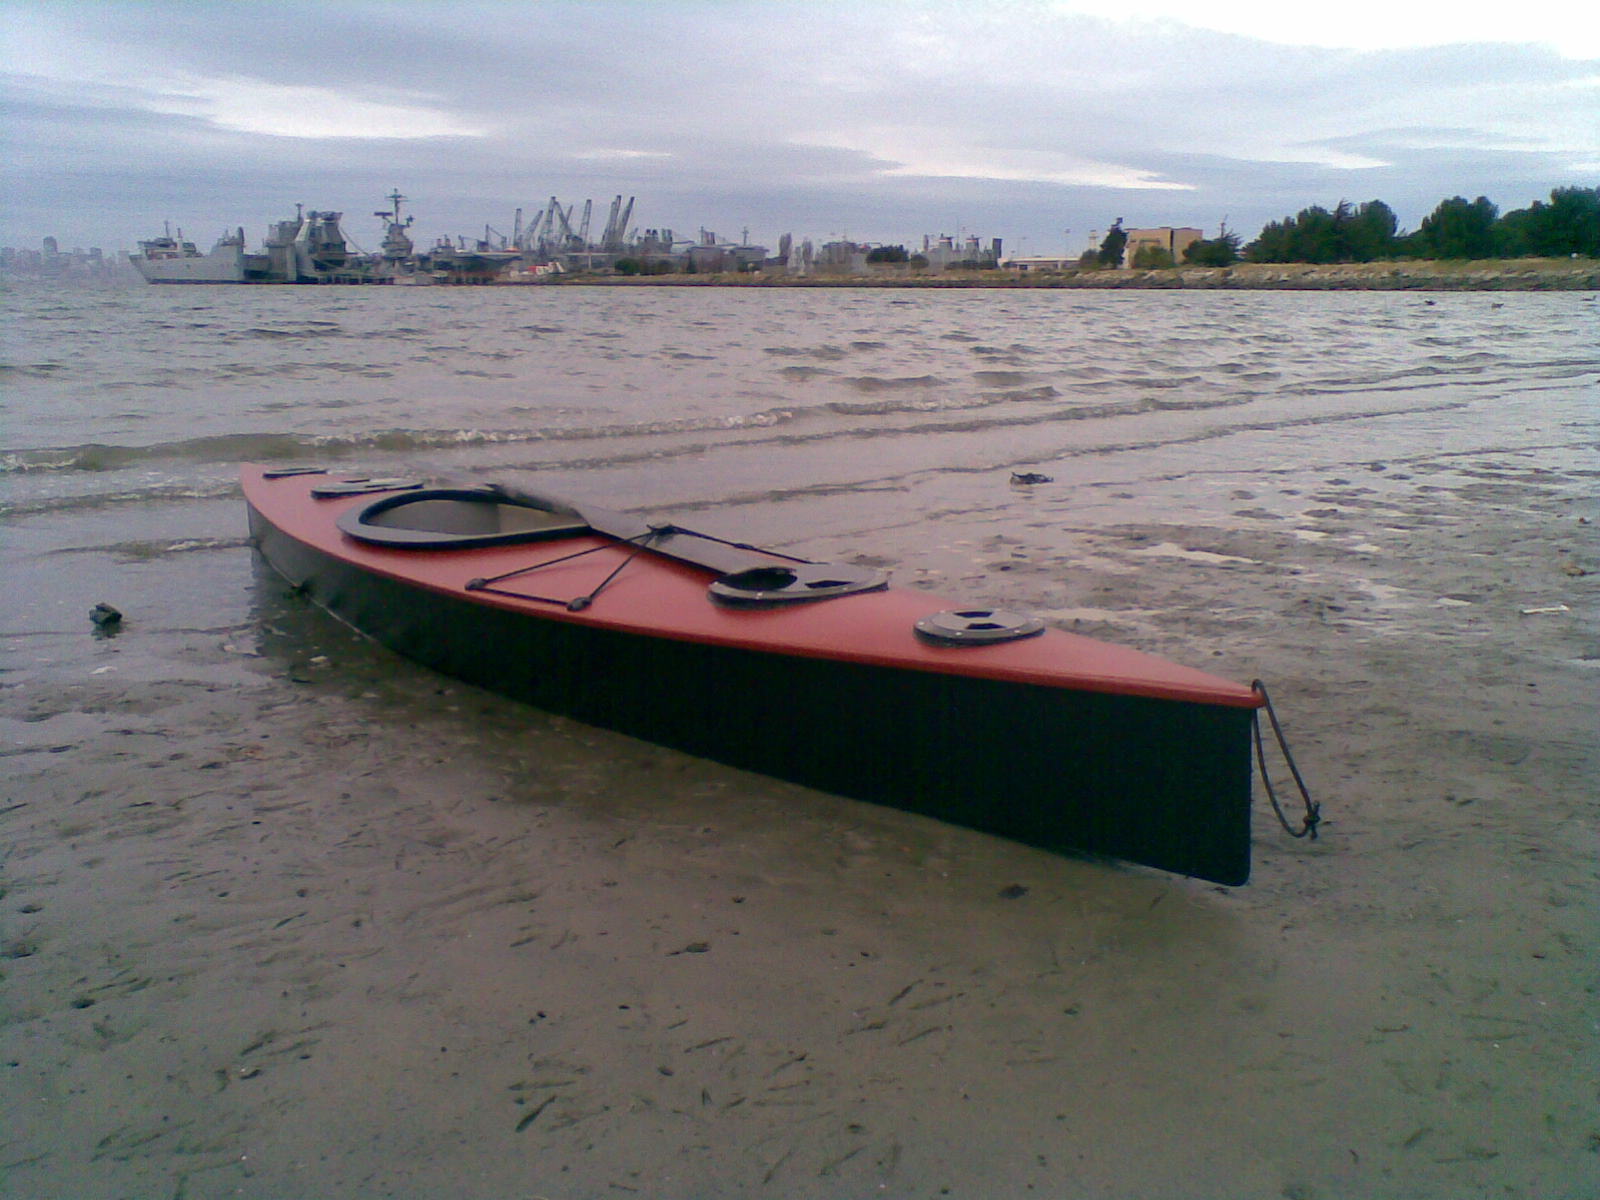
My first kayak was a heavy rotomolded sit on top. I had a lot of fun with it, but it was heavy and slow. The decked canoe/outrigger sailing canoe I built is lighter and faster, but it is too long to haul around all the time and has a large cockpit that isn’t good for rough water. So I built this lightweight kayak for everyday use. It is 12′ long, 22″ wide, and weighs 24 lbs.
I designed the kayak using Hulls and AutoCAD. I printed out full sized patterns and traced them onto the panels. the kayak is symmetrical front to back so I cut out four identical half side panels at one time, and two identical half bottom panels and joined them together at the center. I used that crappy 1/8″ plywood from Home Depot again.
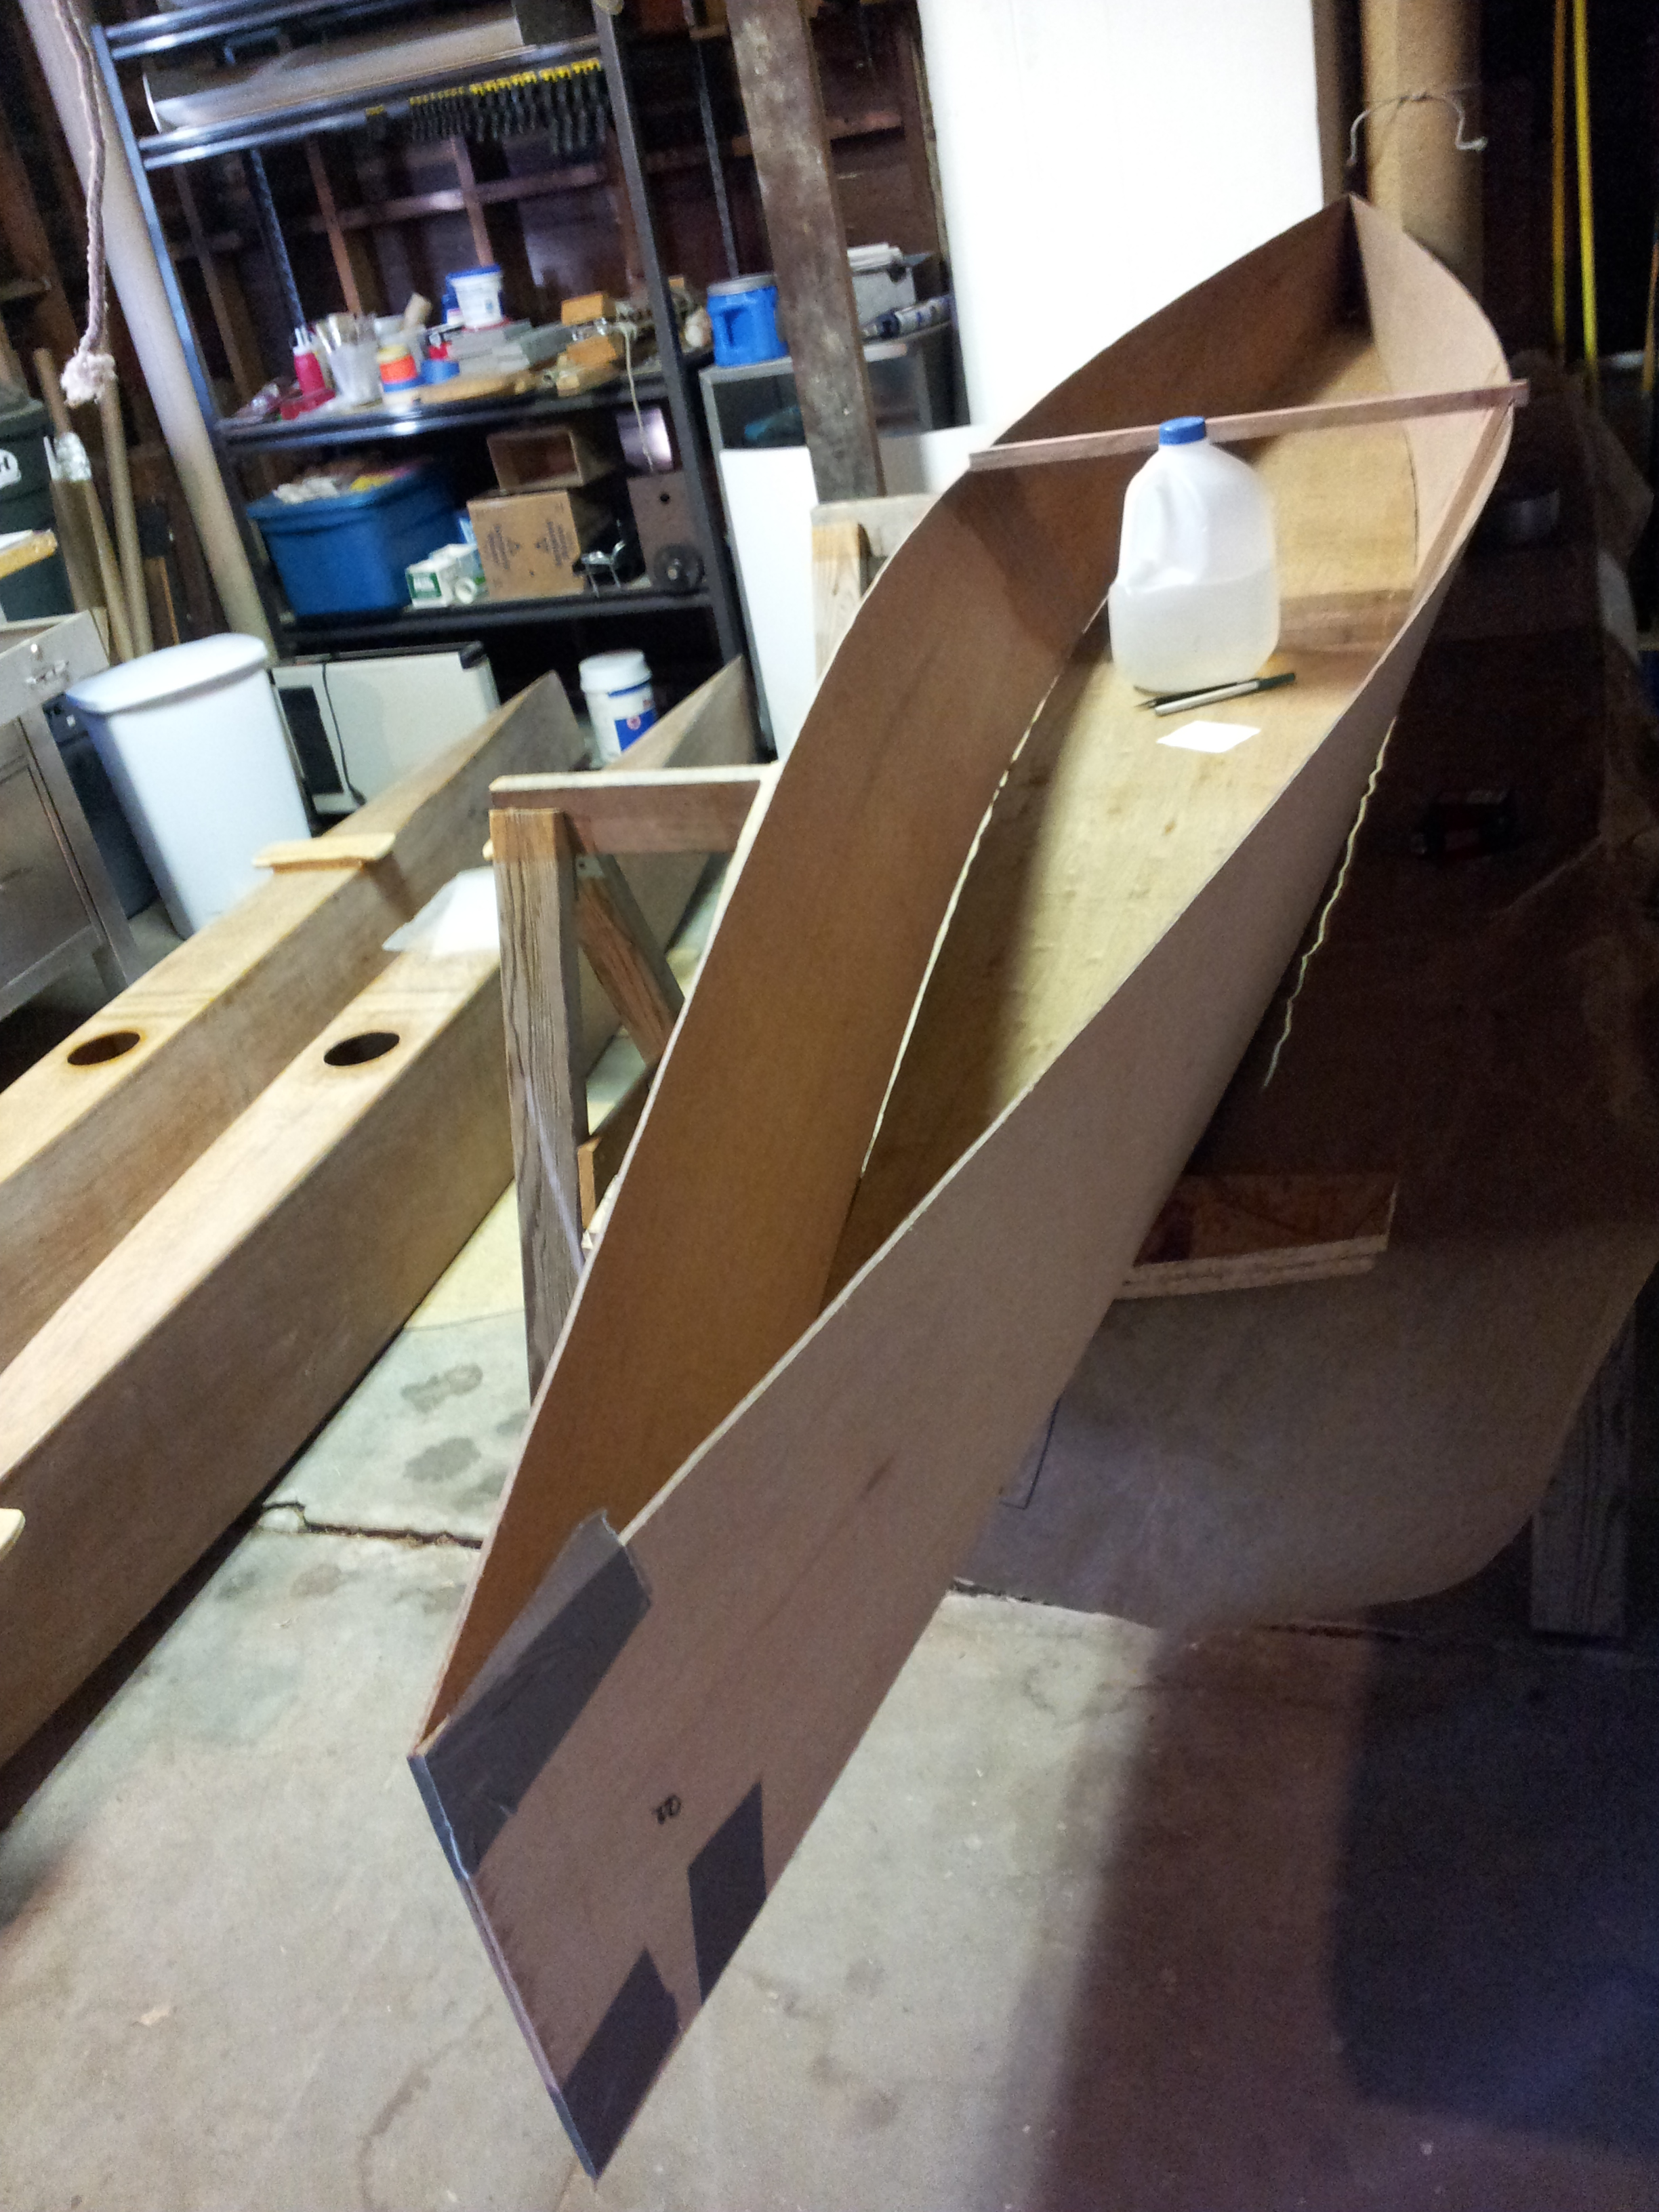
Once the side panels and bottom panel were epoxied together, the hull was ready to assemble. I temporarily taped everything together with duct tape, then filleted all the joints with thickened epoxy and covered the fillet with a strip of fiberglass.

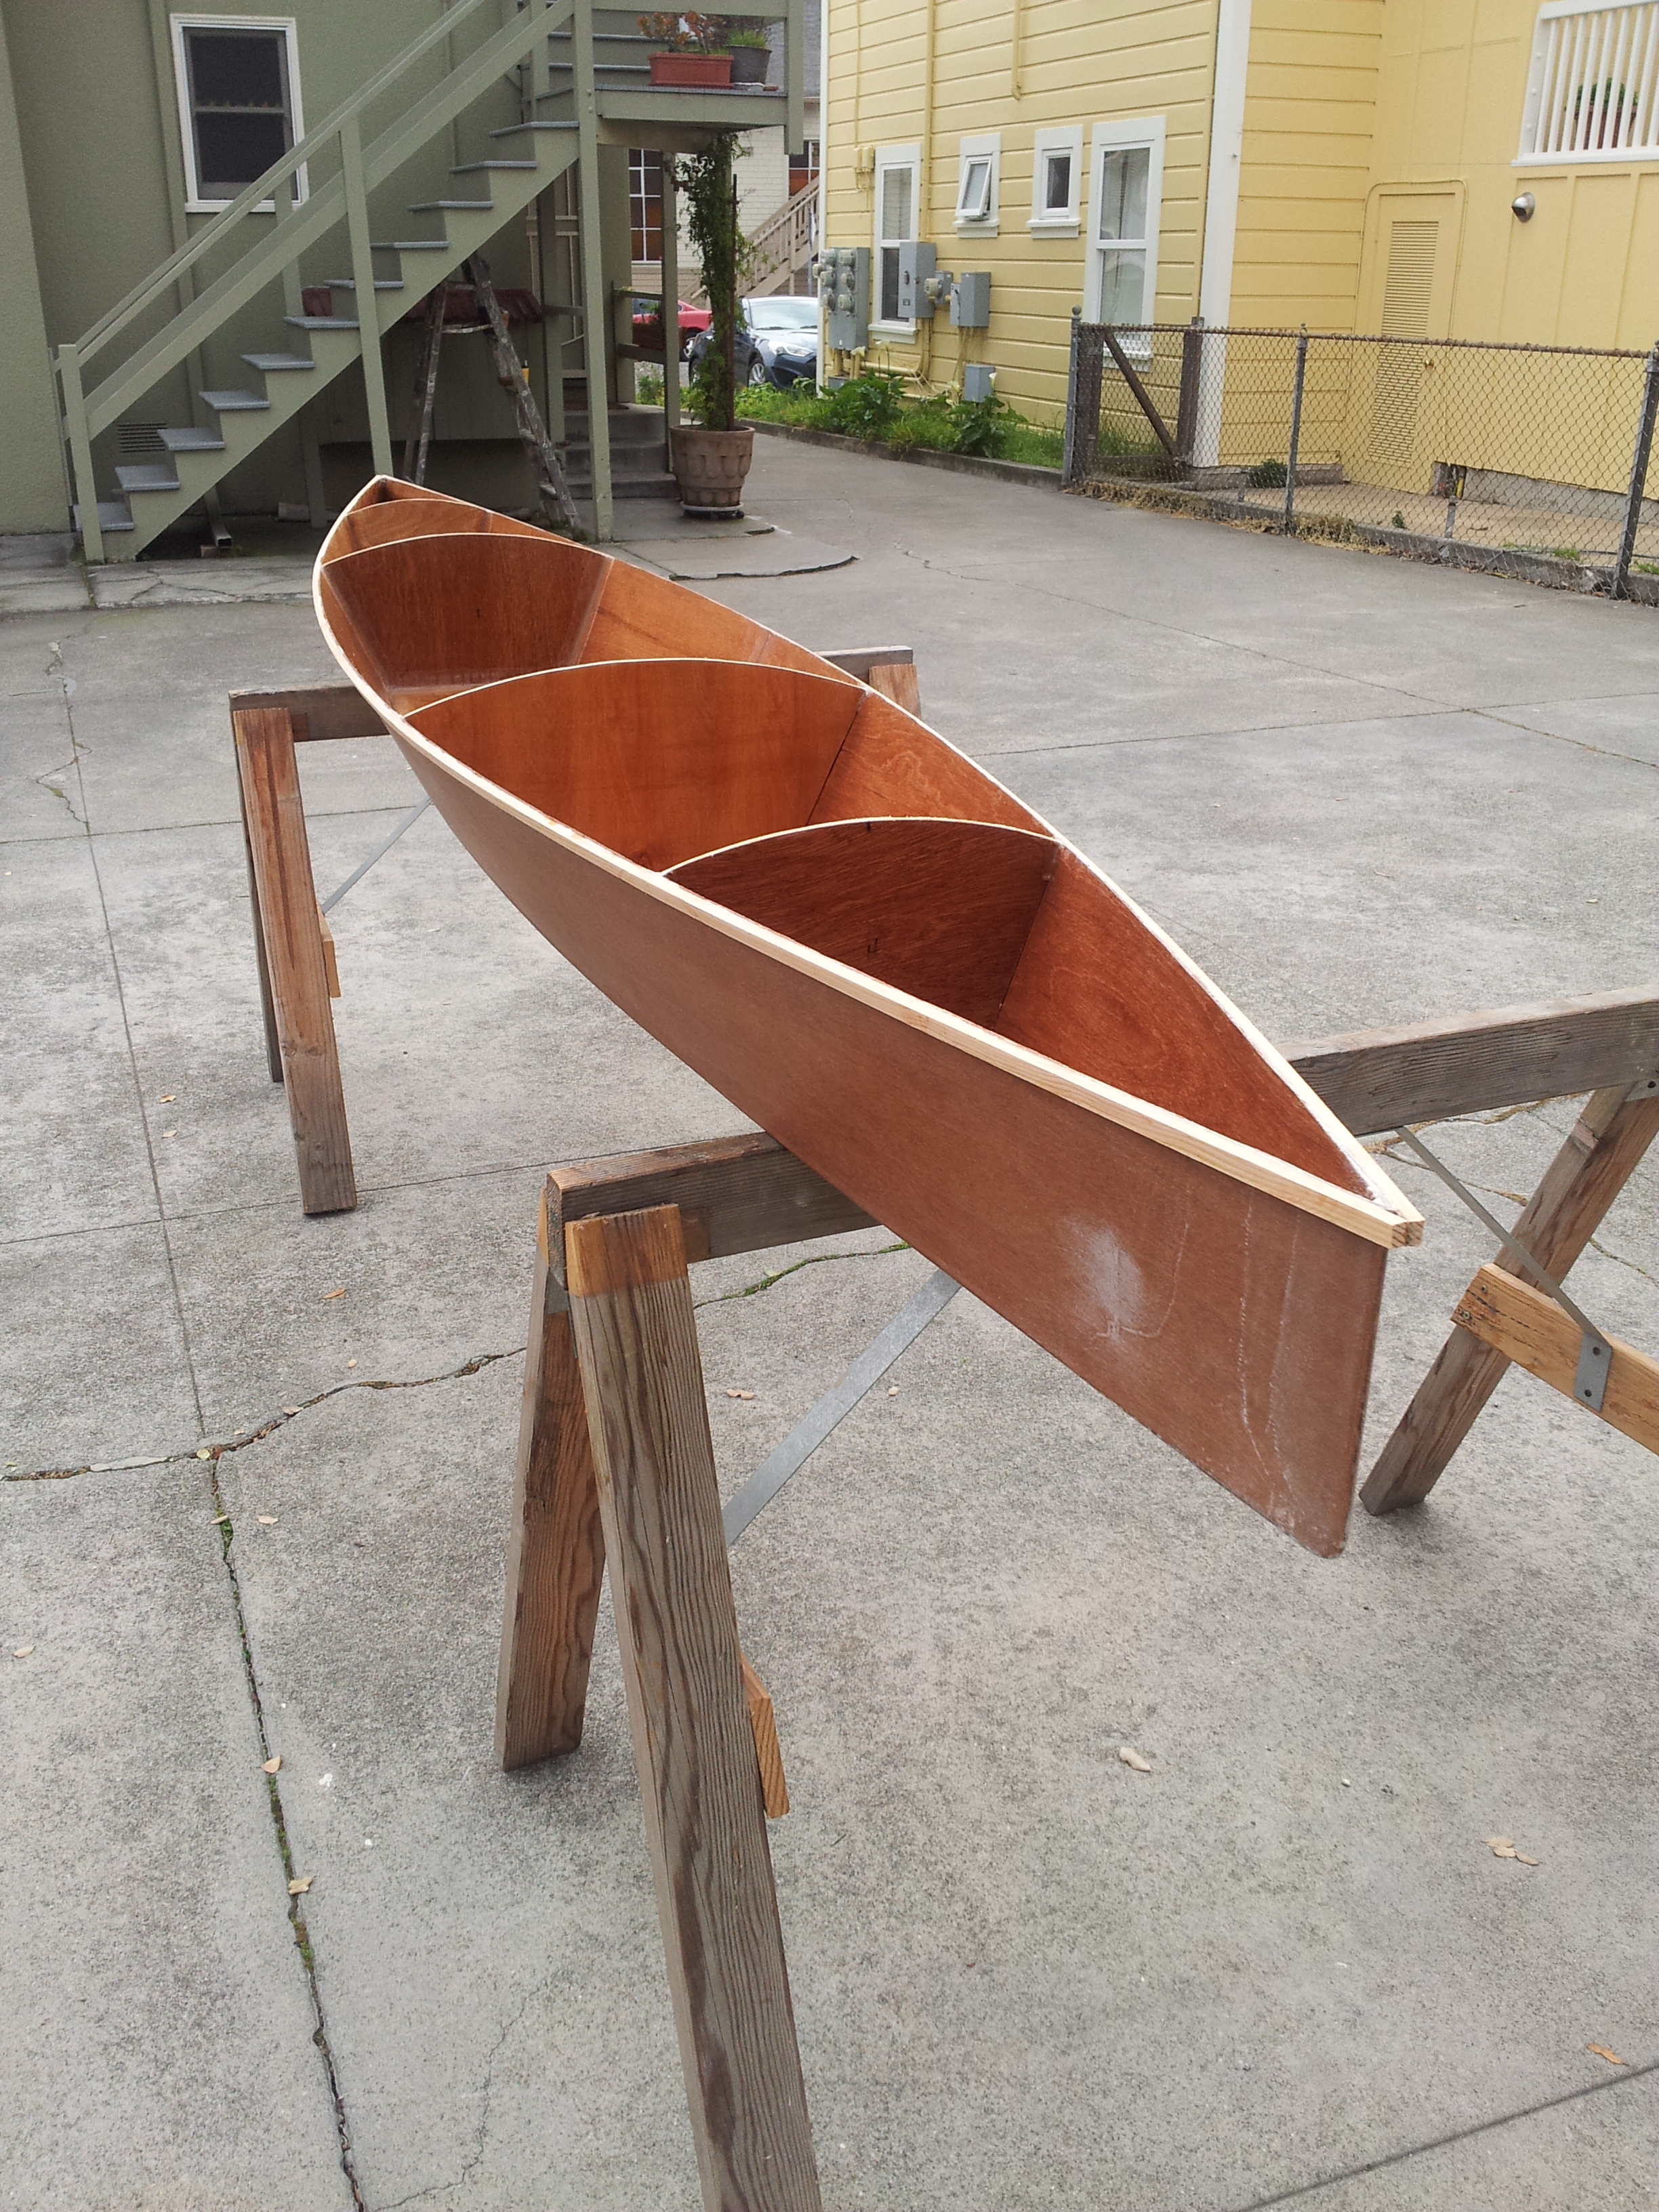
Before the epoxy was set, the bulkheads were tacked in place and alignment was checked. Everything was allowed to cure overnight, and the next day the bulkheads were filleted and taped in place and the bulkheads and inside of the hull was sealed with epoxy. I also fiberglass the floor of the cockpit and a few inches up the sides to add strength in this area.

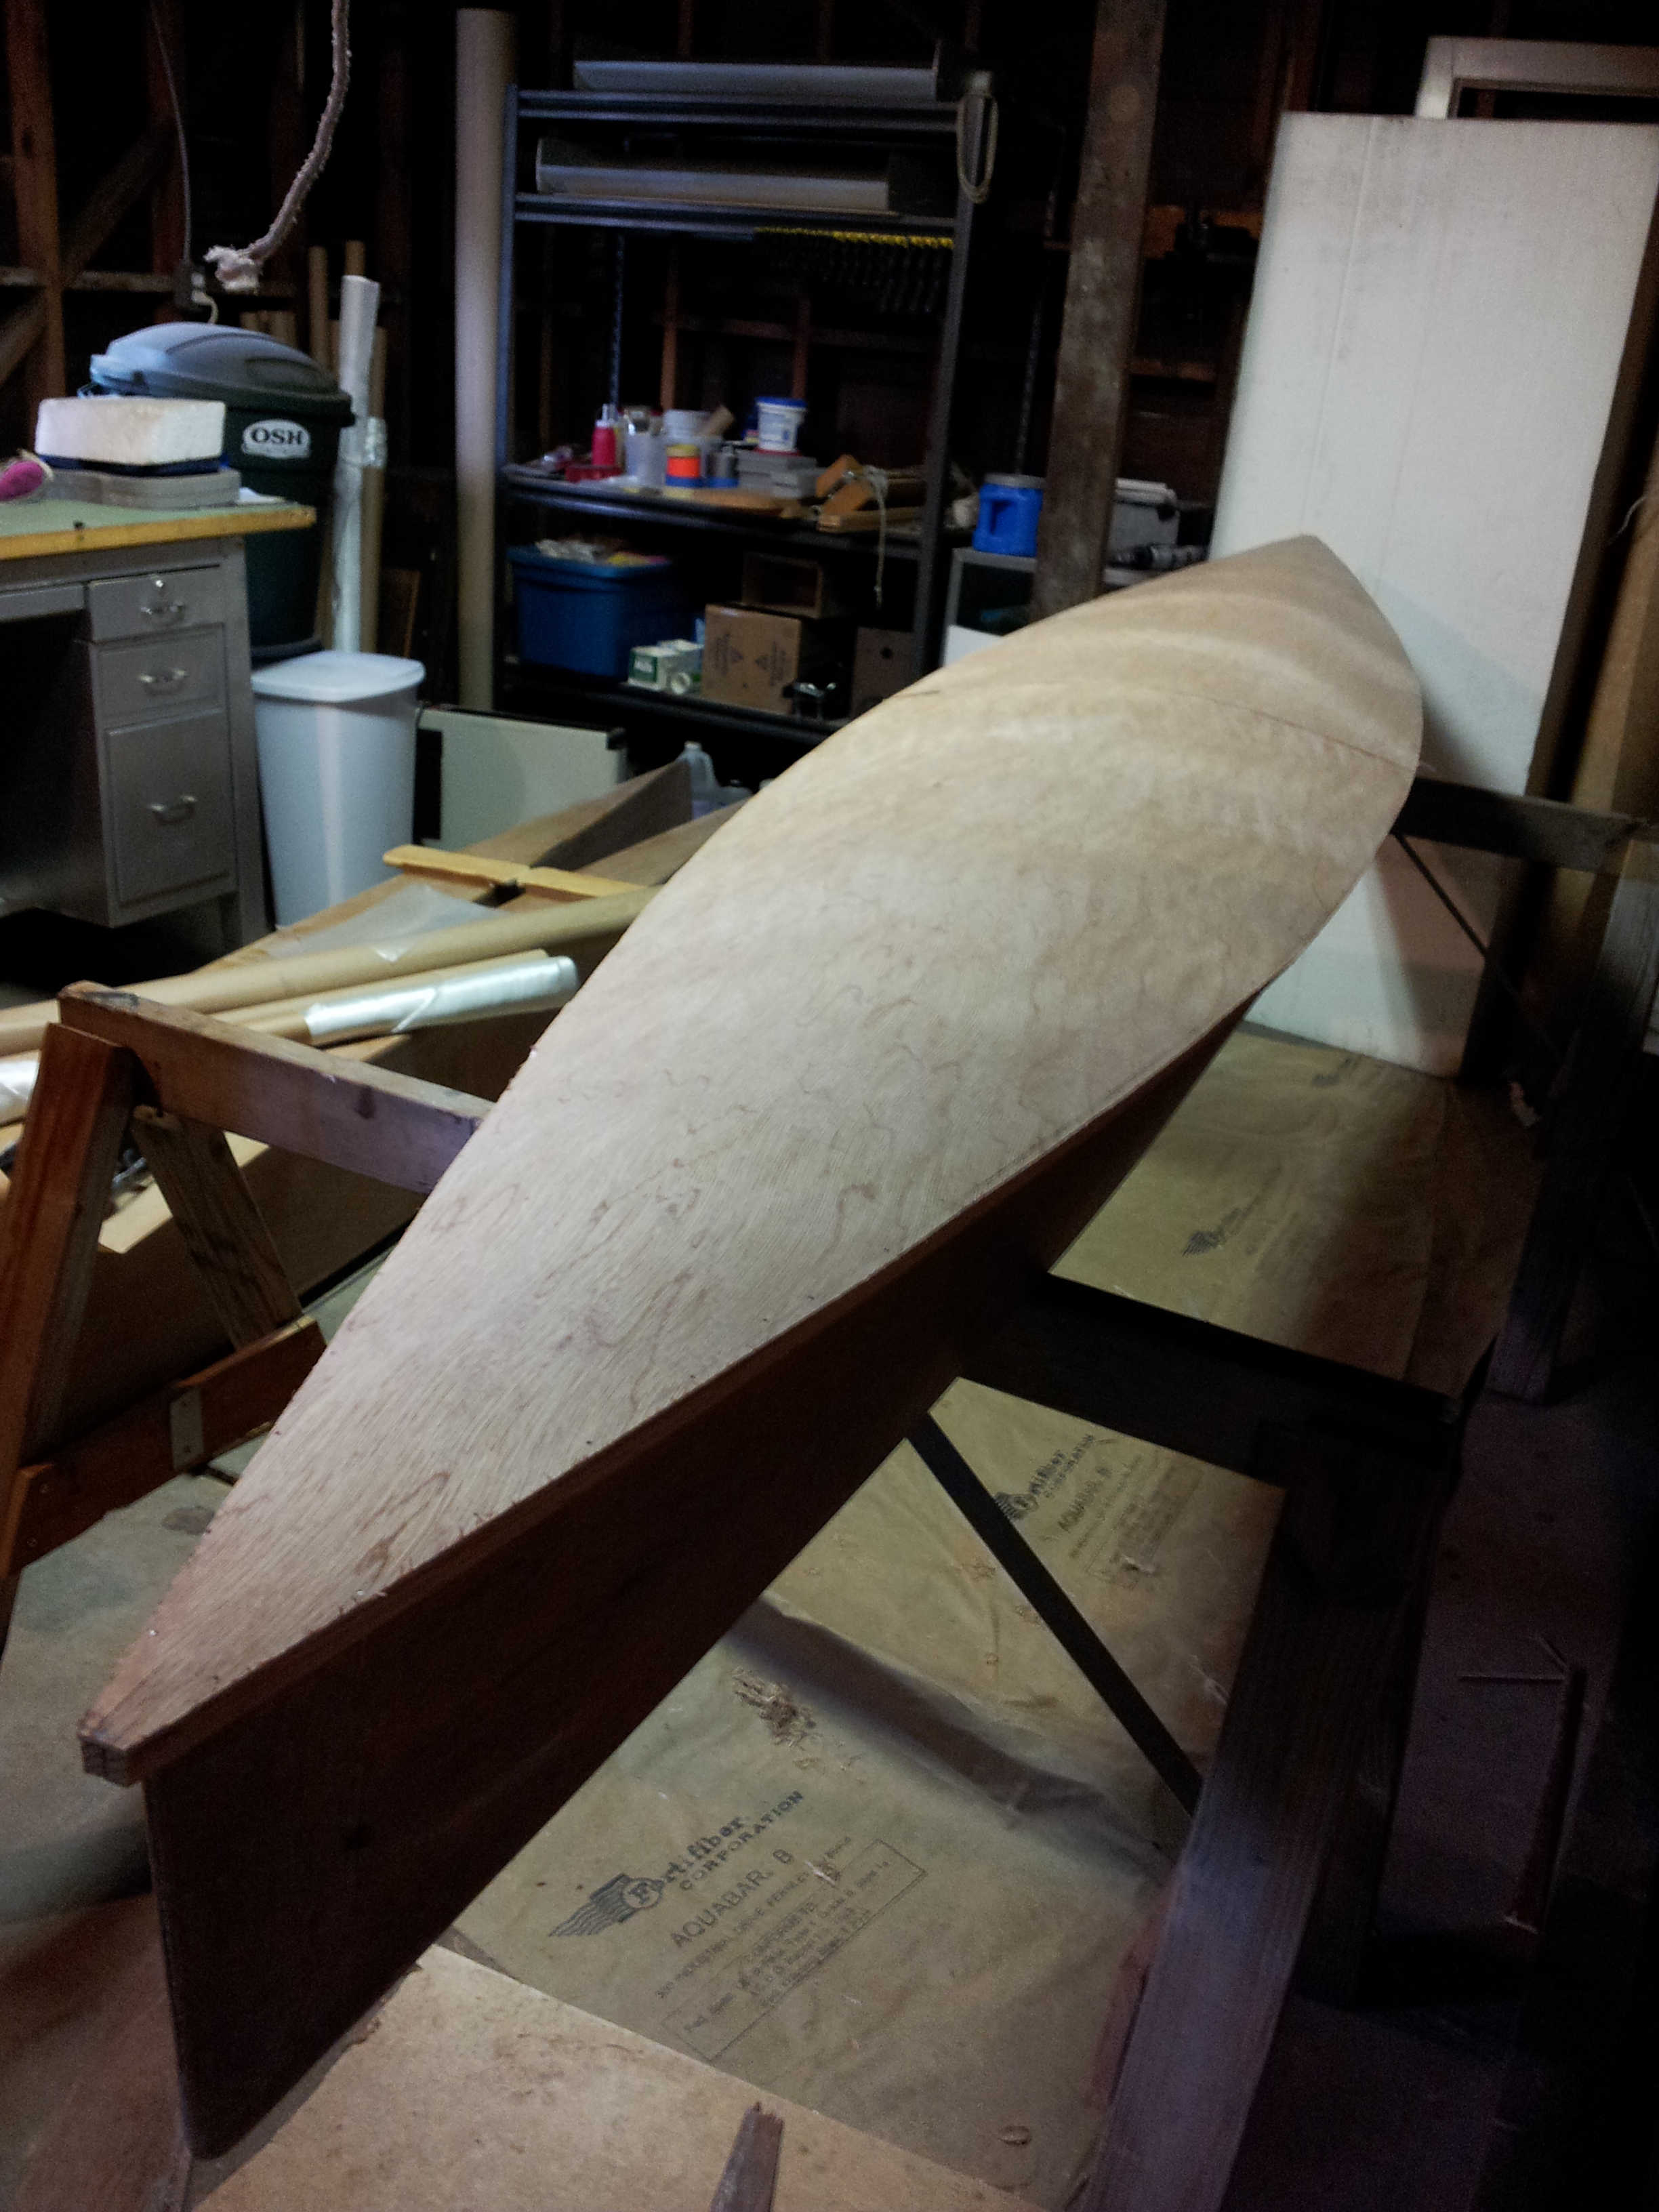
Once the inside of the hull was sealed, the kayak was turned over and the exterior of the hull was fiberglassed. I ran the fiberglass past the ends of the bow and stern, then trimmed it even with the plywood once the epoxy gelled. The next day I sanded the ends, then wrapped two strips of fiberglass over each end, covered with waxed paper, and clamped boards over the waxed paper. No more sanding on the bow and stern were needed – I hate sanding.
Next the external sheer clamp was installed with thickened epoxy. I used an external sheer clamp so the fiberglass on the deck could run over the sheer clamp and be trimmed even with its bottom edge. This way there was very little sanding required, and I hate sanding.
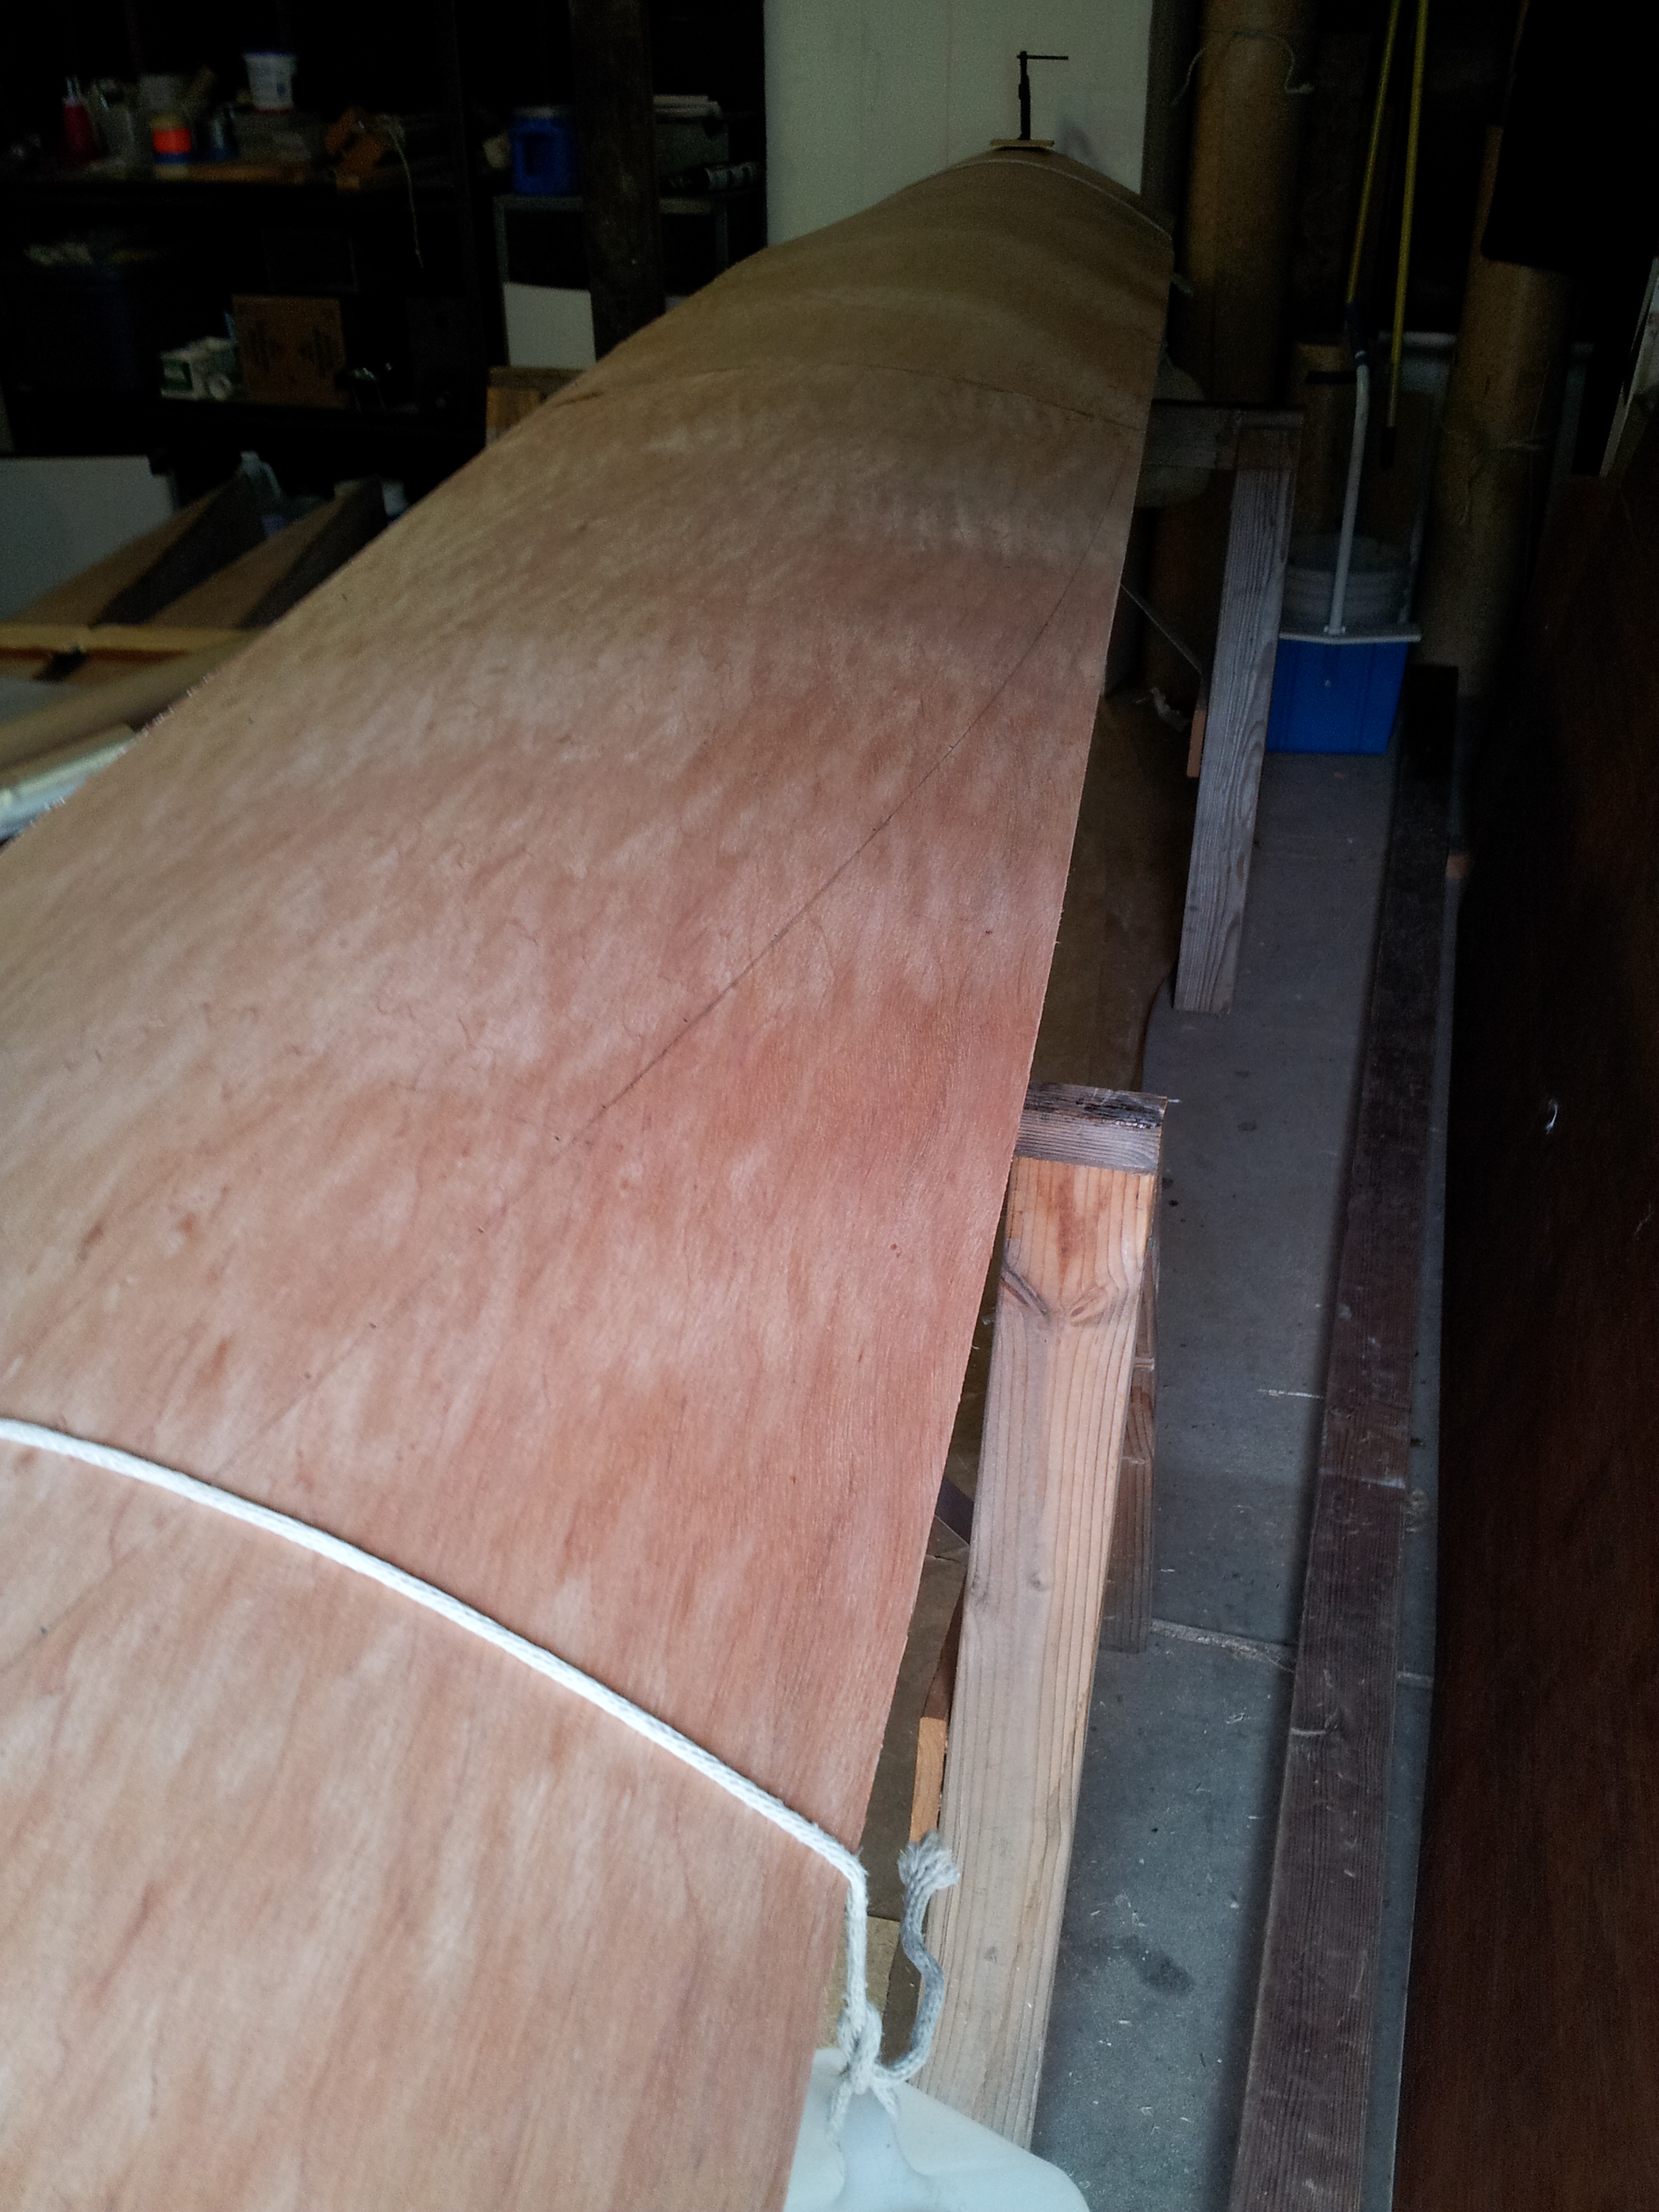
Next, the deck was attached. Since there wasn’t a deck beam the deck was not cut to shape – it was left rectangular so there would be a constant curve along the length of the deck. The deck would tend to have flat spots at the ends if this wasn’t done. The milk jugs full of water tied across the ends also helped to maintain the curve. The underside of the deck was sealed with epoxy, and it was bonded to the hull with thickened epoxy. It was temporarily tacked in place while the epoxy set.
After the epoxy cured the kayak was turned over and the deck was trimmed even with the sheer clamps with a hand saw. Then the kayak was turned right side up and the edge of the deck was rounded with a plane and rough sandpaper. The deck was fiberglassed.

Next the hatches and cockpit were cut out and the cockpit coaming was installed. The kayak was painted. The hatchcovers and deck lines were attached and kayak was ready to paddle.